For the METALpro Ironworkers:
1. Install the die holder.
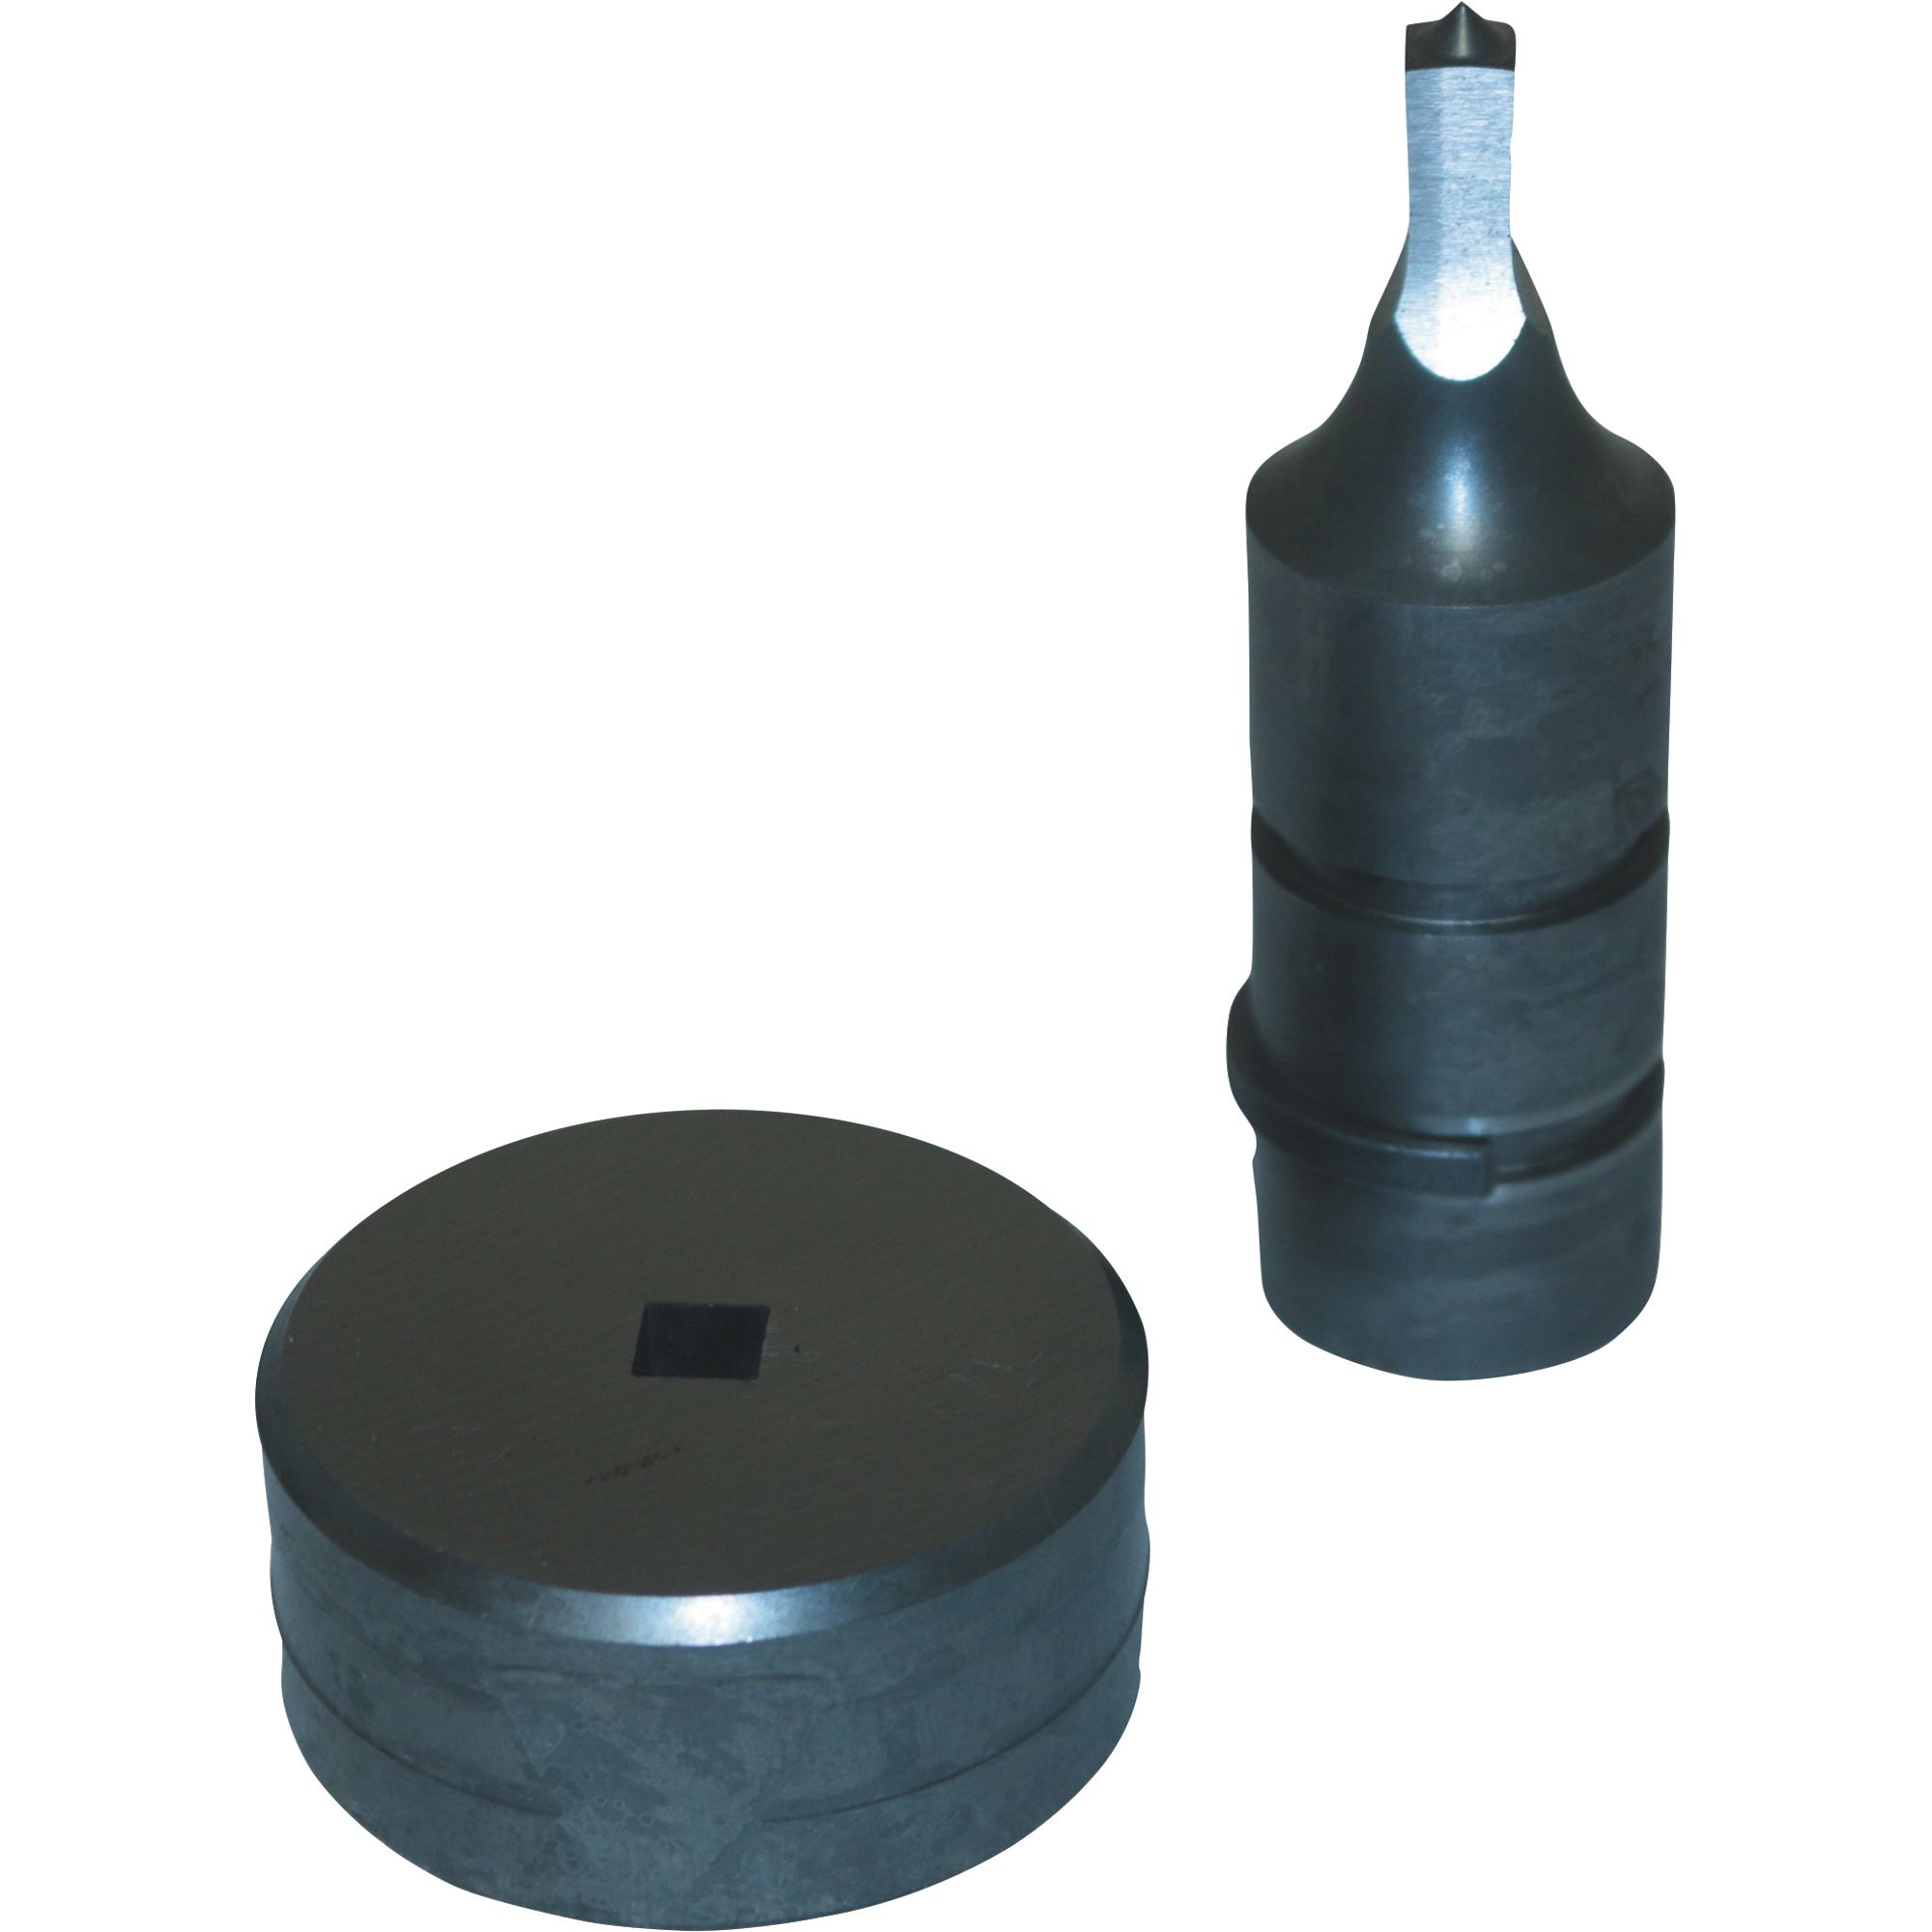
2. Secure the punch with the retaining nut. Tighten the nut with the punch wrench.
3. Install the die into the holder. Tighten the 3/8 -16 x 3/8" set screw. Note: Square, oblong, special shapes, and some round dies have a flat on them. Always tighten the set screw against the flat if there is one.
4. Using the foot switch, carefully lower the punch into the die. Position the die holder so that the punch is centered visually in the die. There will be approximately .030" clearance around the punch. Tighten the hex head screws, securing the die holder to the main weldment without changing the alignment of the punch and die. Recheck that the punch is centered in the die.
5. Install the strippers with the 5/16 -18 x 3/4" hex head screws and 5/16" flat washers.
6. Recheck the installation by cycling the punch slowly, making sure that the punch, die, and stripper do not interfere at any point in the stroke.
7. You may use a center punch to establish the hole location in the material to be punched. Lower the punch slowly and align the tip of the punch with center punch mark
