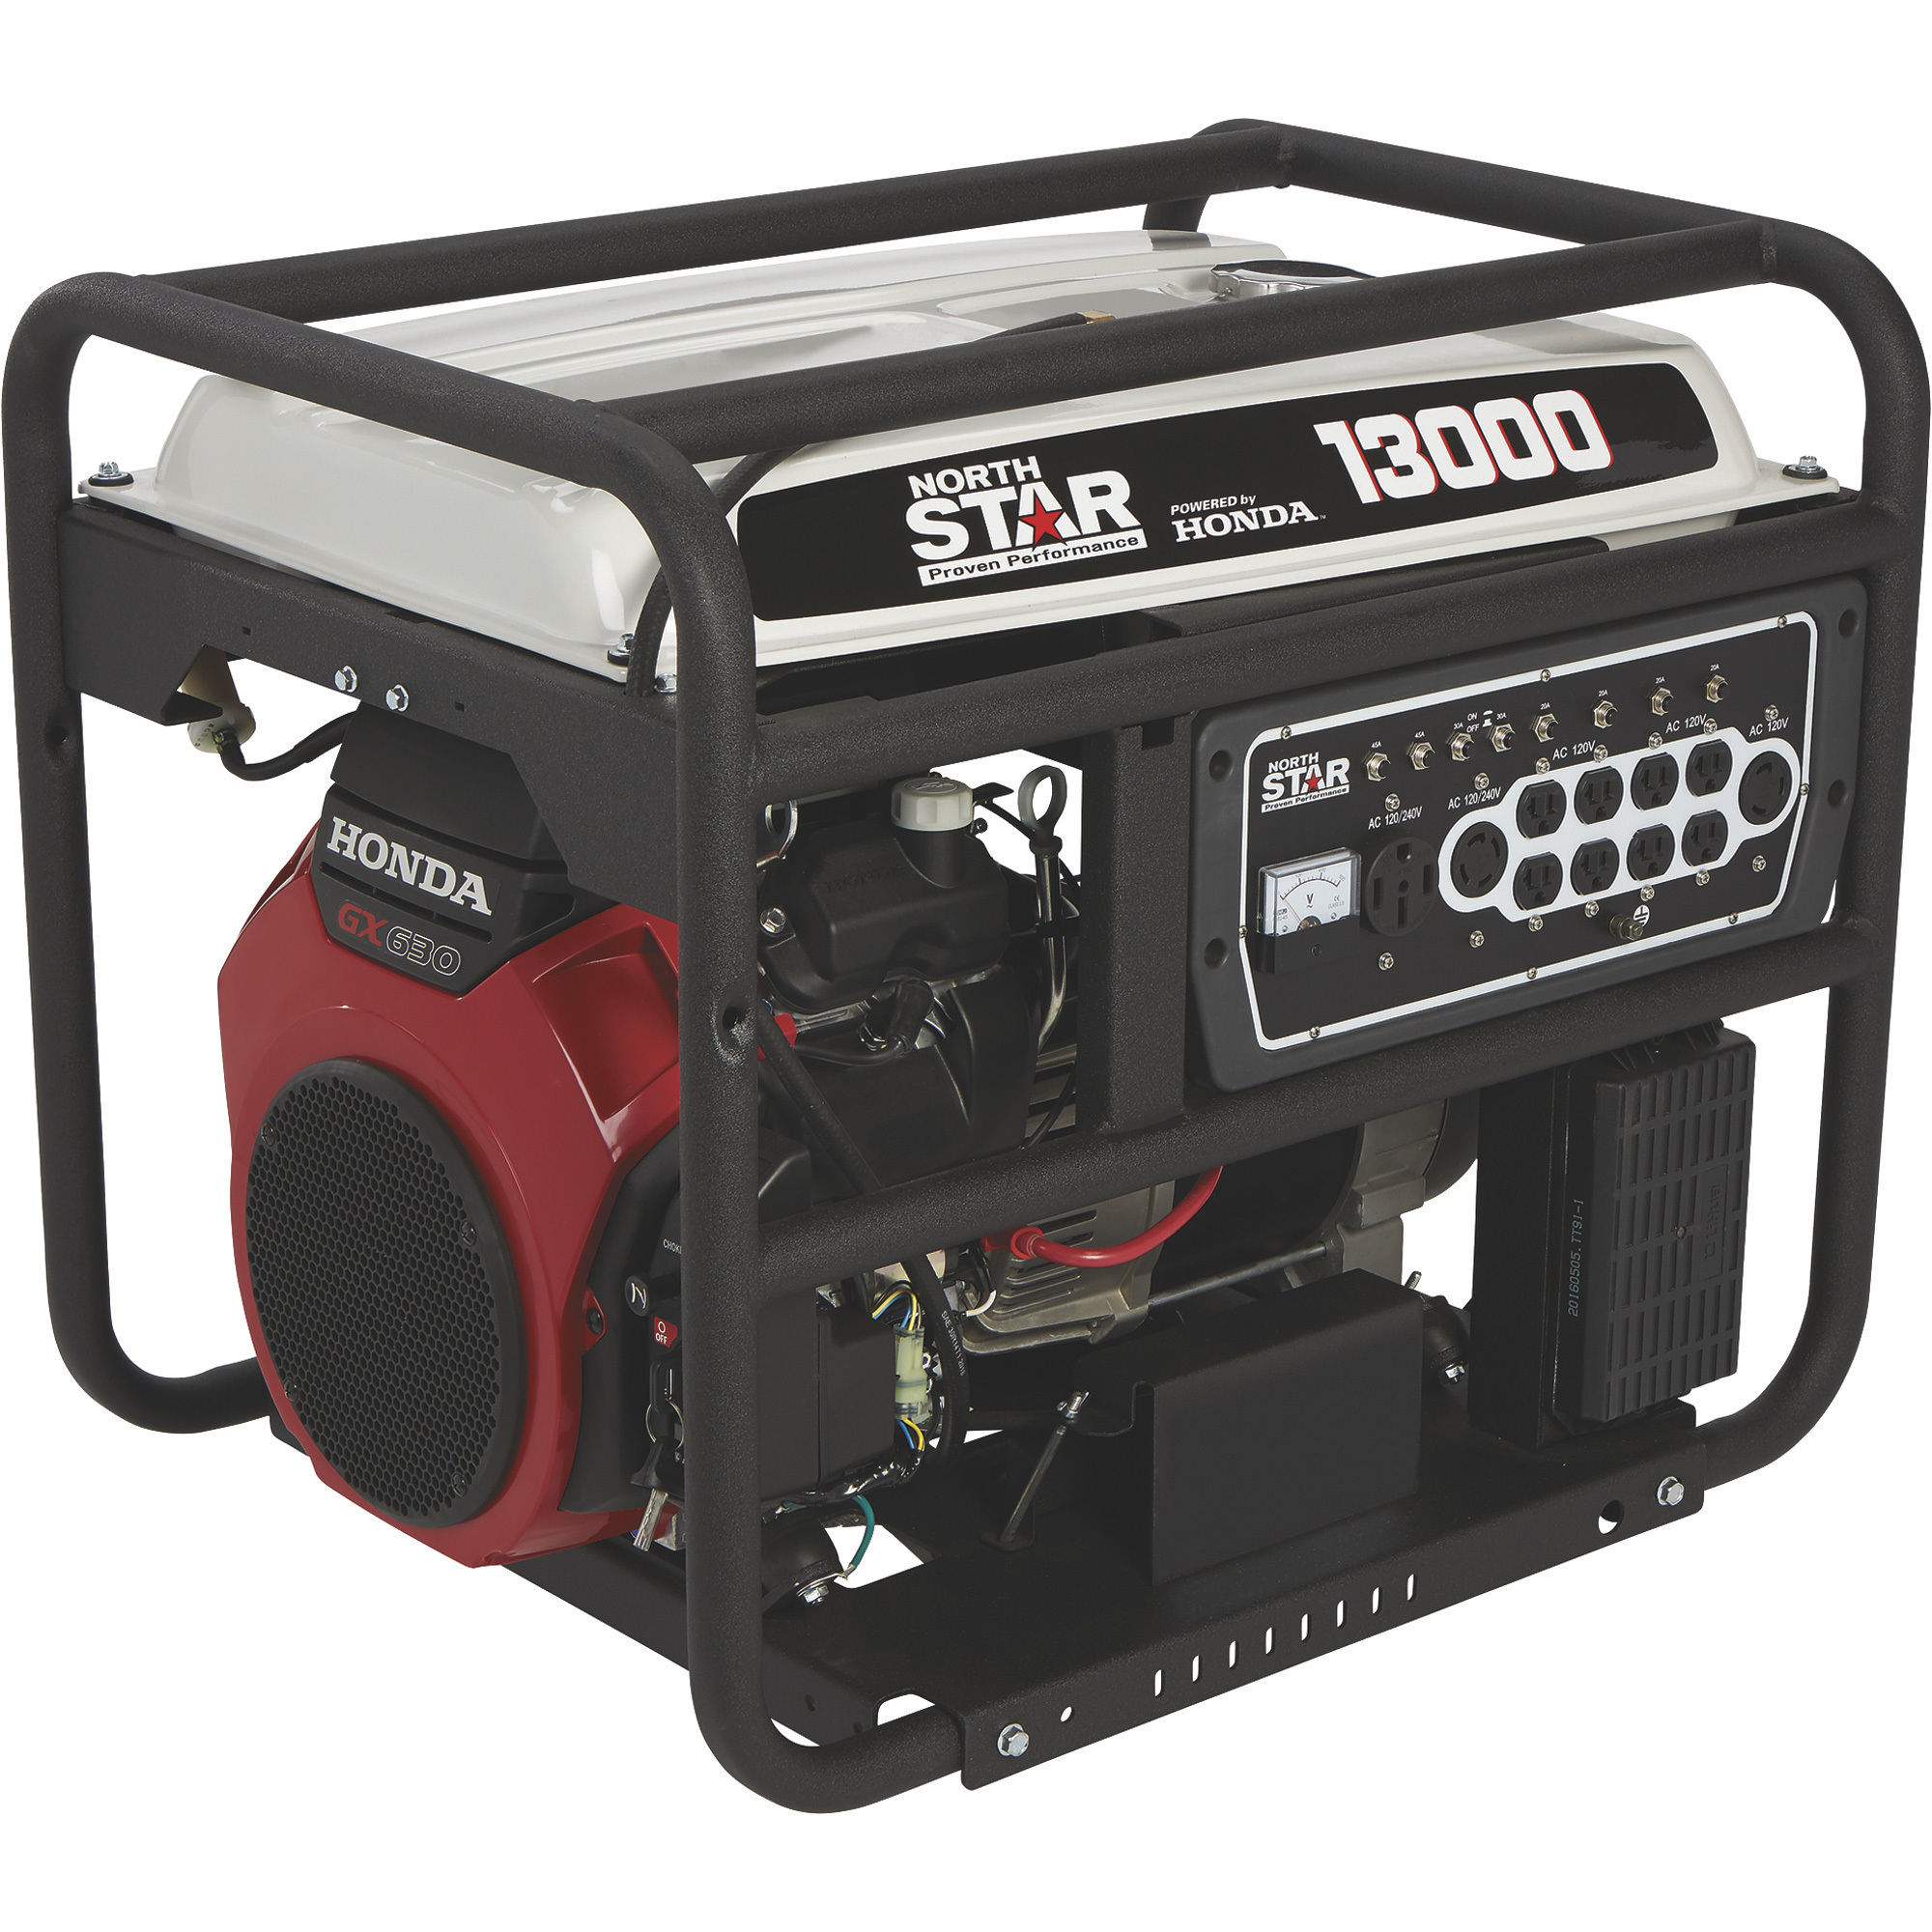
Change Your Generator's Oil in 6 Easy Steps
Always refer to your generator’s owner’s manual for your specific model’s recommended oil change intervals, oil type, procedures and tools required. Typically, you'll need a socket wrench, oil pan, funnel and, of course, new oil.
Step #1:
To change oil, start your generator and let it run for a few minutes to warm the oil so it will drain more easily.
Step #2:
Shut off the generator and disconnect the spark plug wire to avoid an accidental startup. For electric start generators, disconnect the battery cable.
Step #3:
Place an oil drain pan underneath the drain plug.
Step #4:
Remove the drain plug and wait until it stops dripping. Note: Now may also be a good time to change your generator’s oil filter, if it has one. (Again, refer to your generator’s owner’s manual for the recommended schedule.)
Step #5:
Reinstall the drain plug.
Step #6:
Add new, fresh oil to the oil fill tube using the brand, type, and amount recommended by your owner’s manual.
Step #7:
Start your generator and let it run for a few minutes. Check for oil leaks.
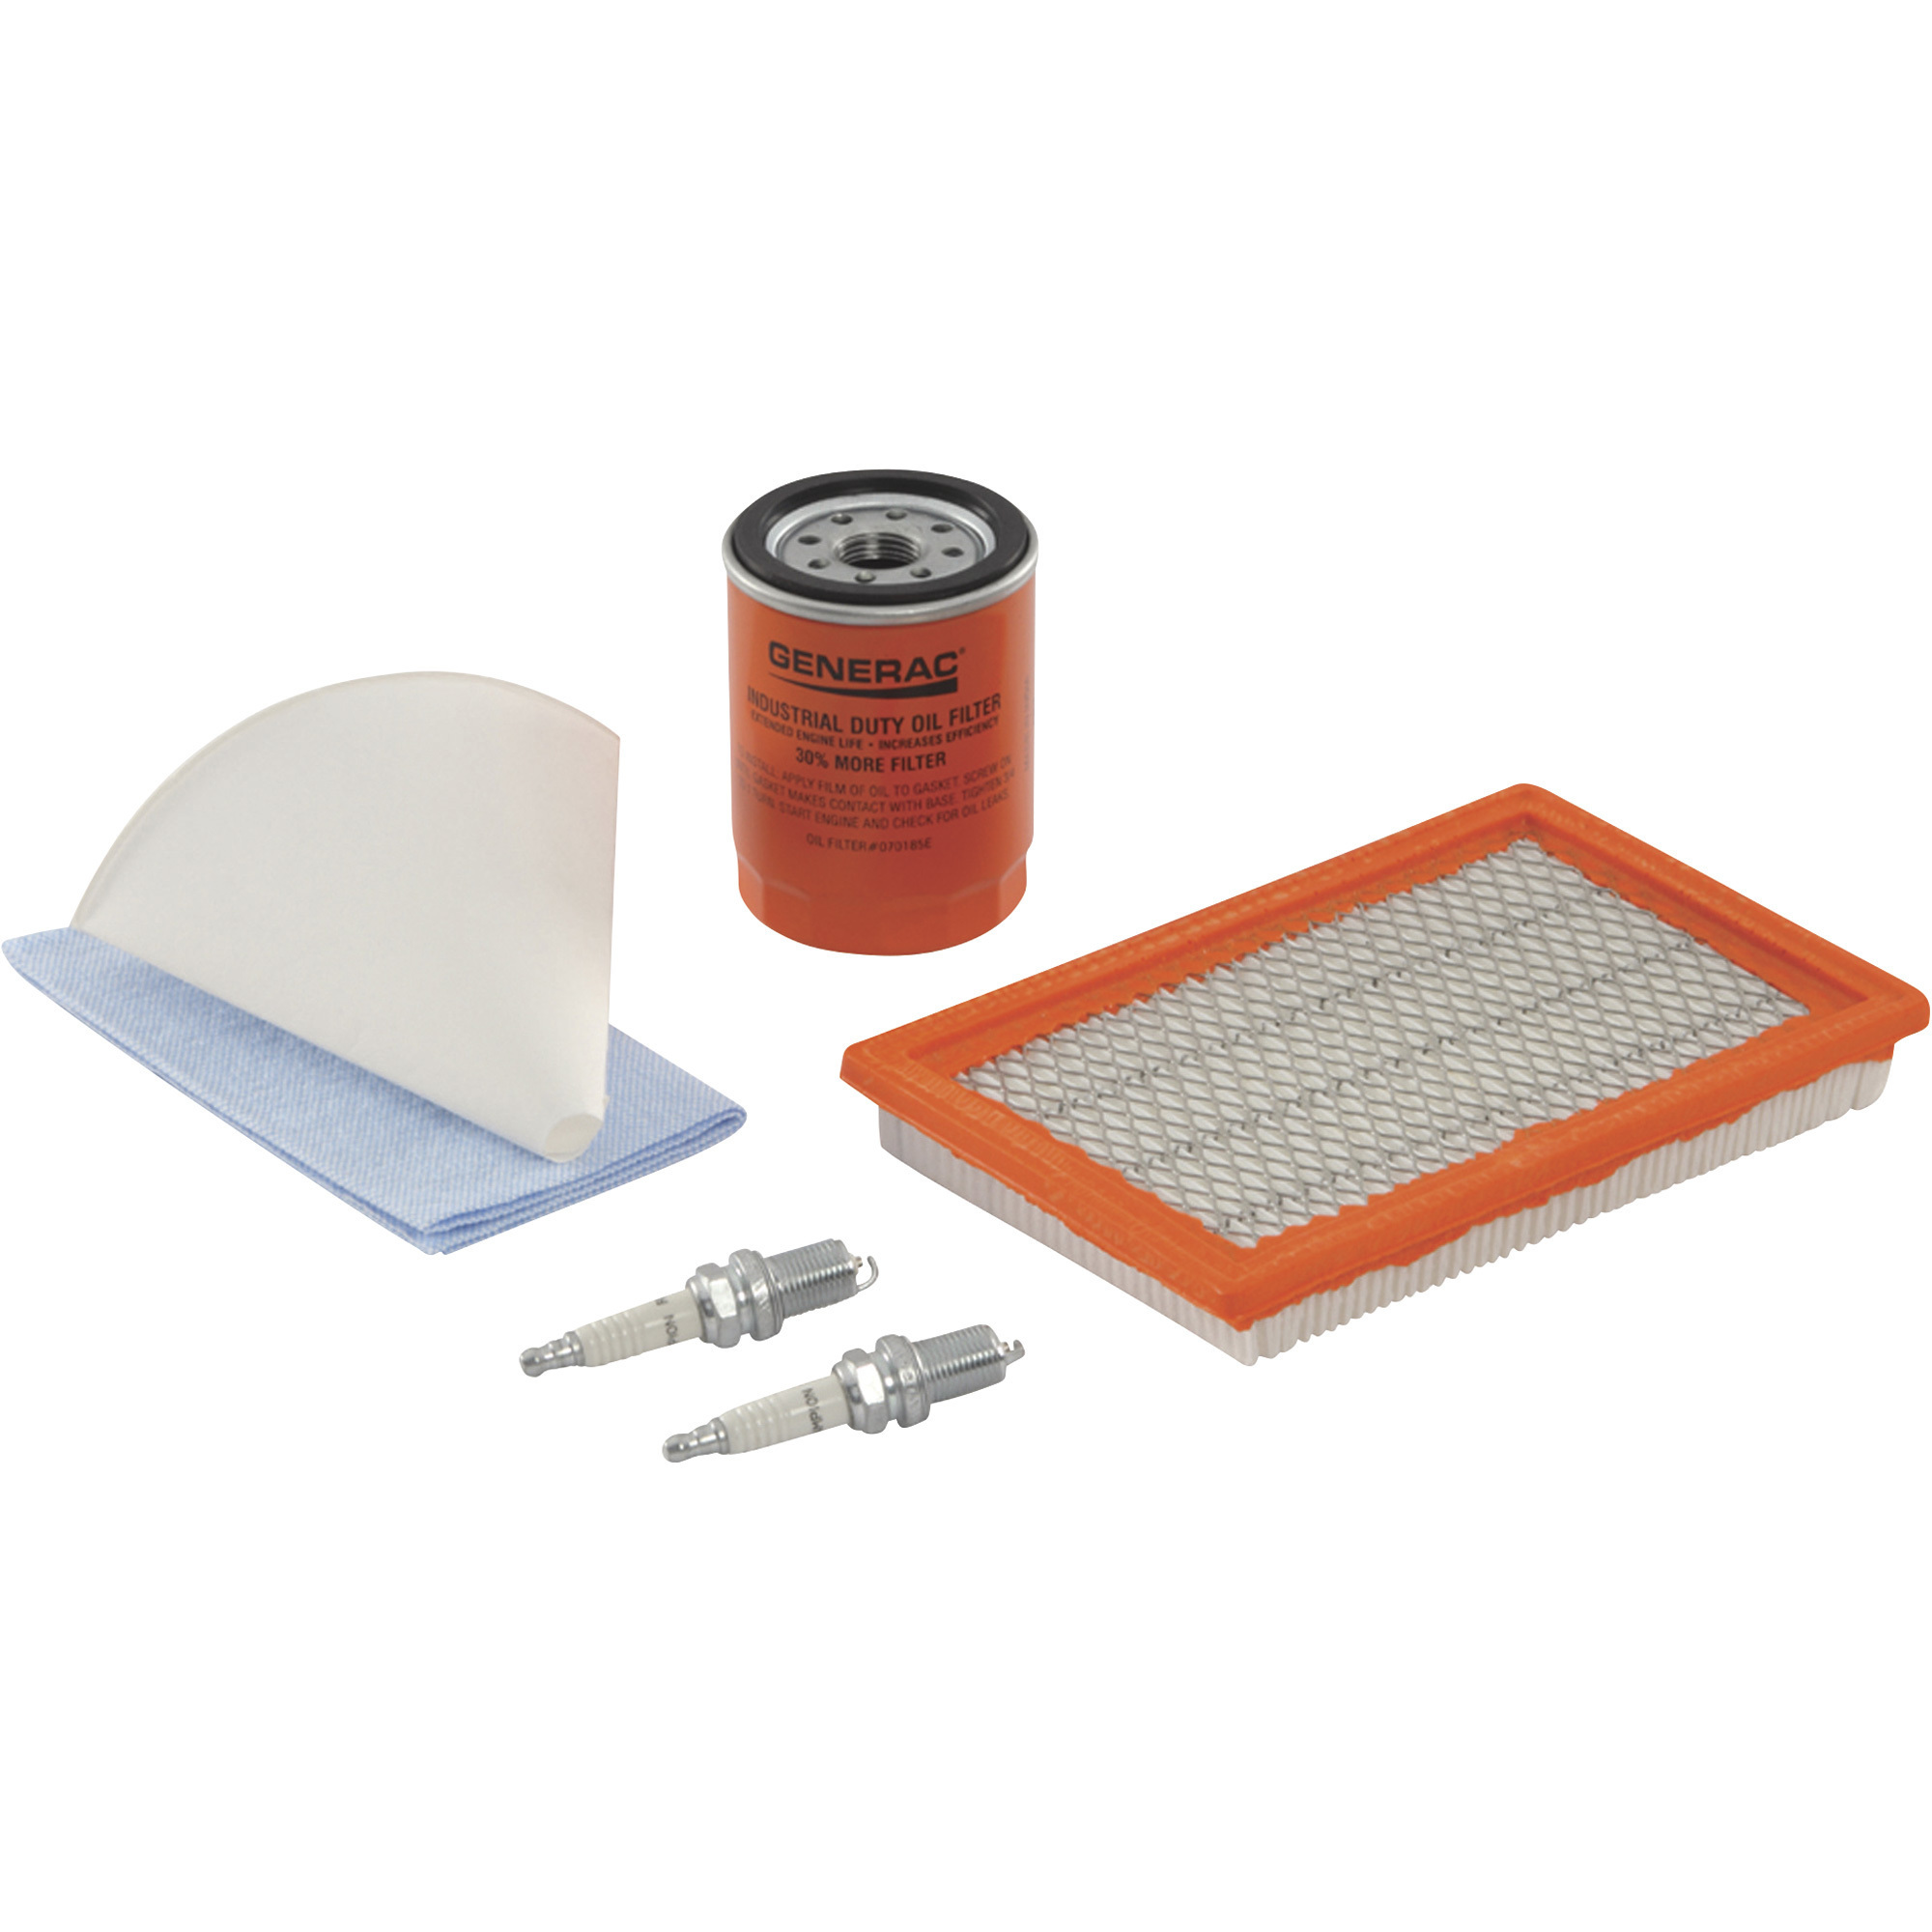
*To complete a full tune-up, replace the air filter and check the spark plug for excessive dirt or fouling.
Handling oil changes yourself not only ensures your generator operates at peak efficiency, it helps protect your investment.