Preparing the Form
2 x 4s, Electric Screwdriver, Screws, Spray Paint, Wood Stakes, Tamper and Leveler
Once you know what size of patio or pad you want to create, purchase 2 x 4s in lengths necessary to create the perimeter. For example, if you want to lay a 10ft. x 10ft. pad, buy enough 2 x 4s to create that perimeter plus an extra 10ft. of length to use as a screed (if you don’t have a bull float). Screw the 2 x 4s together for a 10ft. x 10ft. internal perimeter, and then measure the distance between the diagonal corners of the frame to ensure that they’re exactly equal, adjusting them if necessary.
Next, spray biodegradable marking paint on the ground around the exterior perimeter of the form. Remove the form and dig out the area within the sprayed perimeter. Dig as deeply as you need for a base layer of 3in. of crushed rock and a 4in. layer of concrete.
Take into consideration how far you want the pad elevated above ground, if at all. If you want it flush with the ground, and 4in. thick, dig out 7in. (to include the crushed rock layer) as evenly as you can, measuring as you go. Using stakes as depth indicators is helpful.
Once you’ve dug out the soil, compact the ground inside the perimeter using a hand tamper. (Don’t get rid of excess soil yet.) Reinsert the form. Next, insert a few wood stakes evenly spaced in the ground against the outside perimeter to secure it. Then use a leveler on each side of the form to ensure it’s level. Remember, the top of the form indicates the top of your concrete pad, so you want it even. You can adjust it, if necessary, and secure it in a level position by screwing it to as many of the wood markers as necessary.
If you were building a concrete pad next to a building, you would need to build in a slope of approximately 1/8in. per running foot (unless otherwise specified by local code), so water would run away from the building. If you’re creating your patio or pad as a freestanding unit, you might want it exactly level with ground or elevated only slightly. These guidelines assume a freestanding slab flush with the ground.
Crushed Rock, Rebar, Rebar Chairs, Rebar Cutter and Wire
Once your frame is level, lay down 3in. of crushed rock throughout the form, distributing it evenly. To determine how much crushed rock you need, multiply the length by width by height [of concrete, in feet] and divide by 27. In the case of 10ft. x 10ft. x 0.33ft. of concrete, you would need 1.23 yards of crushed rock.
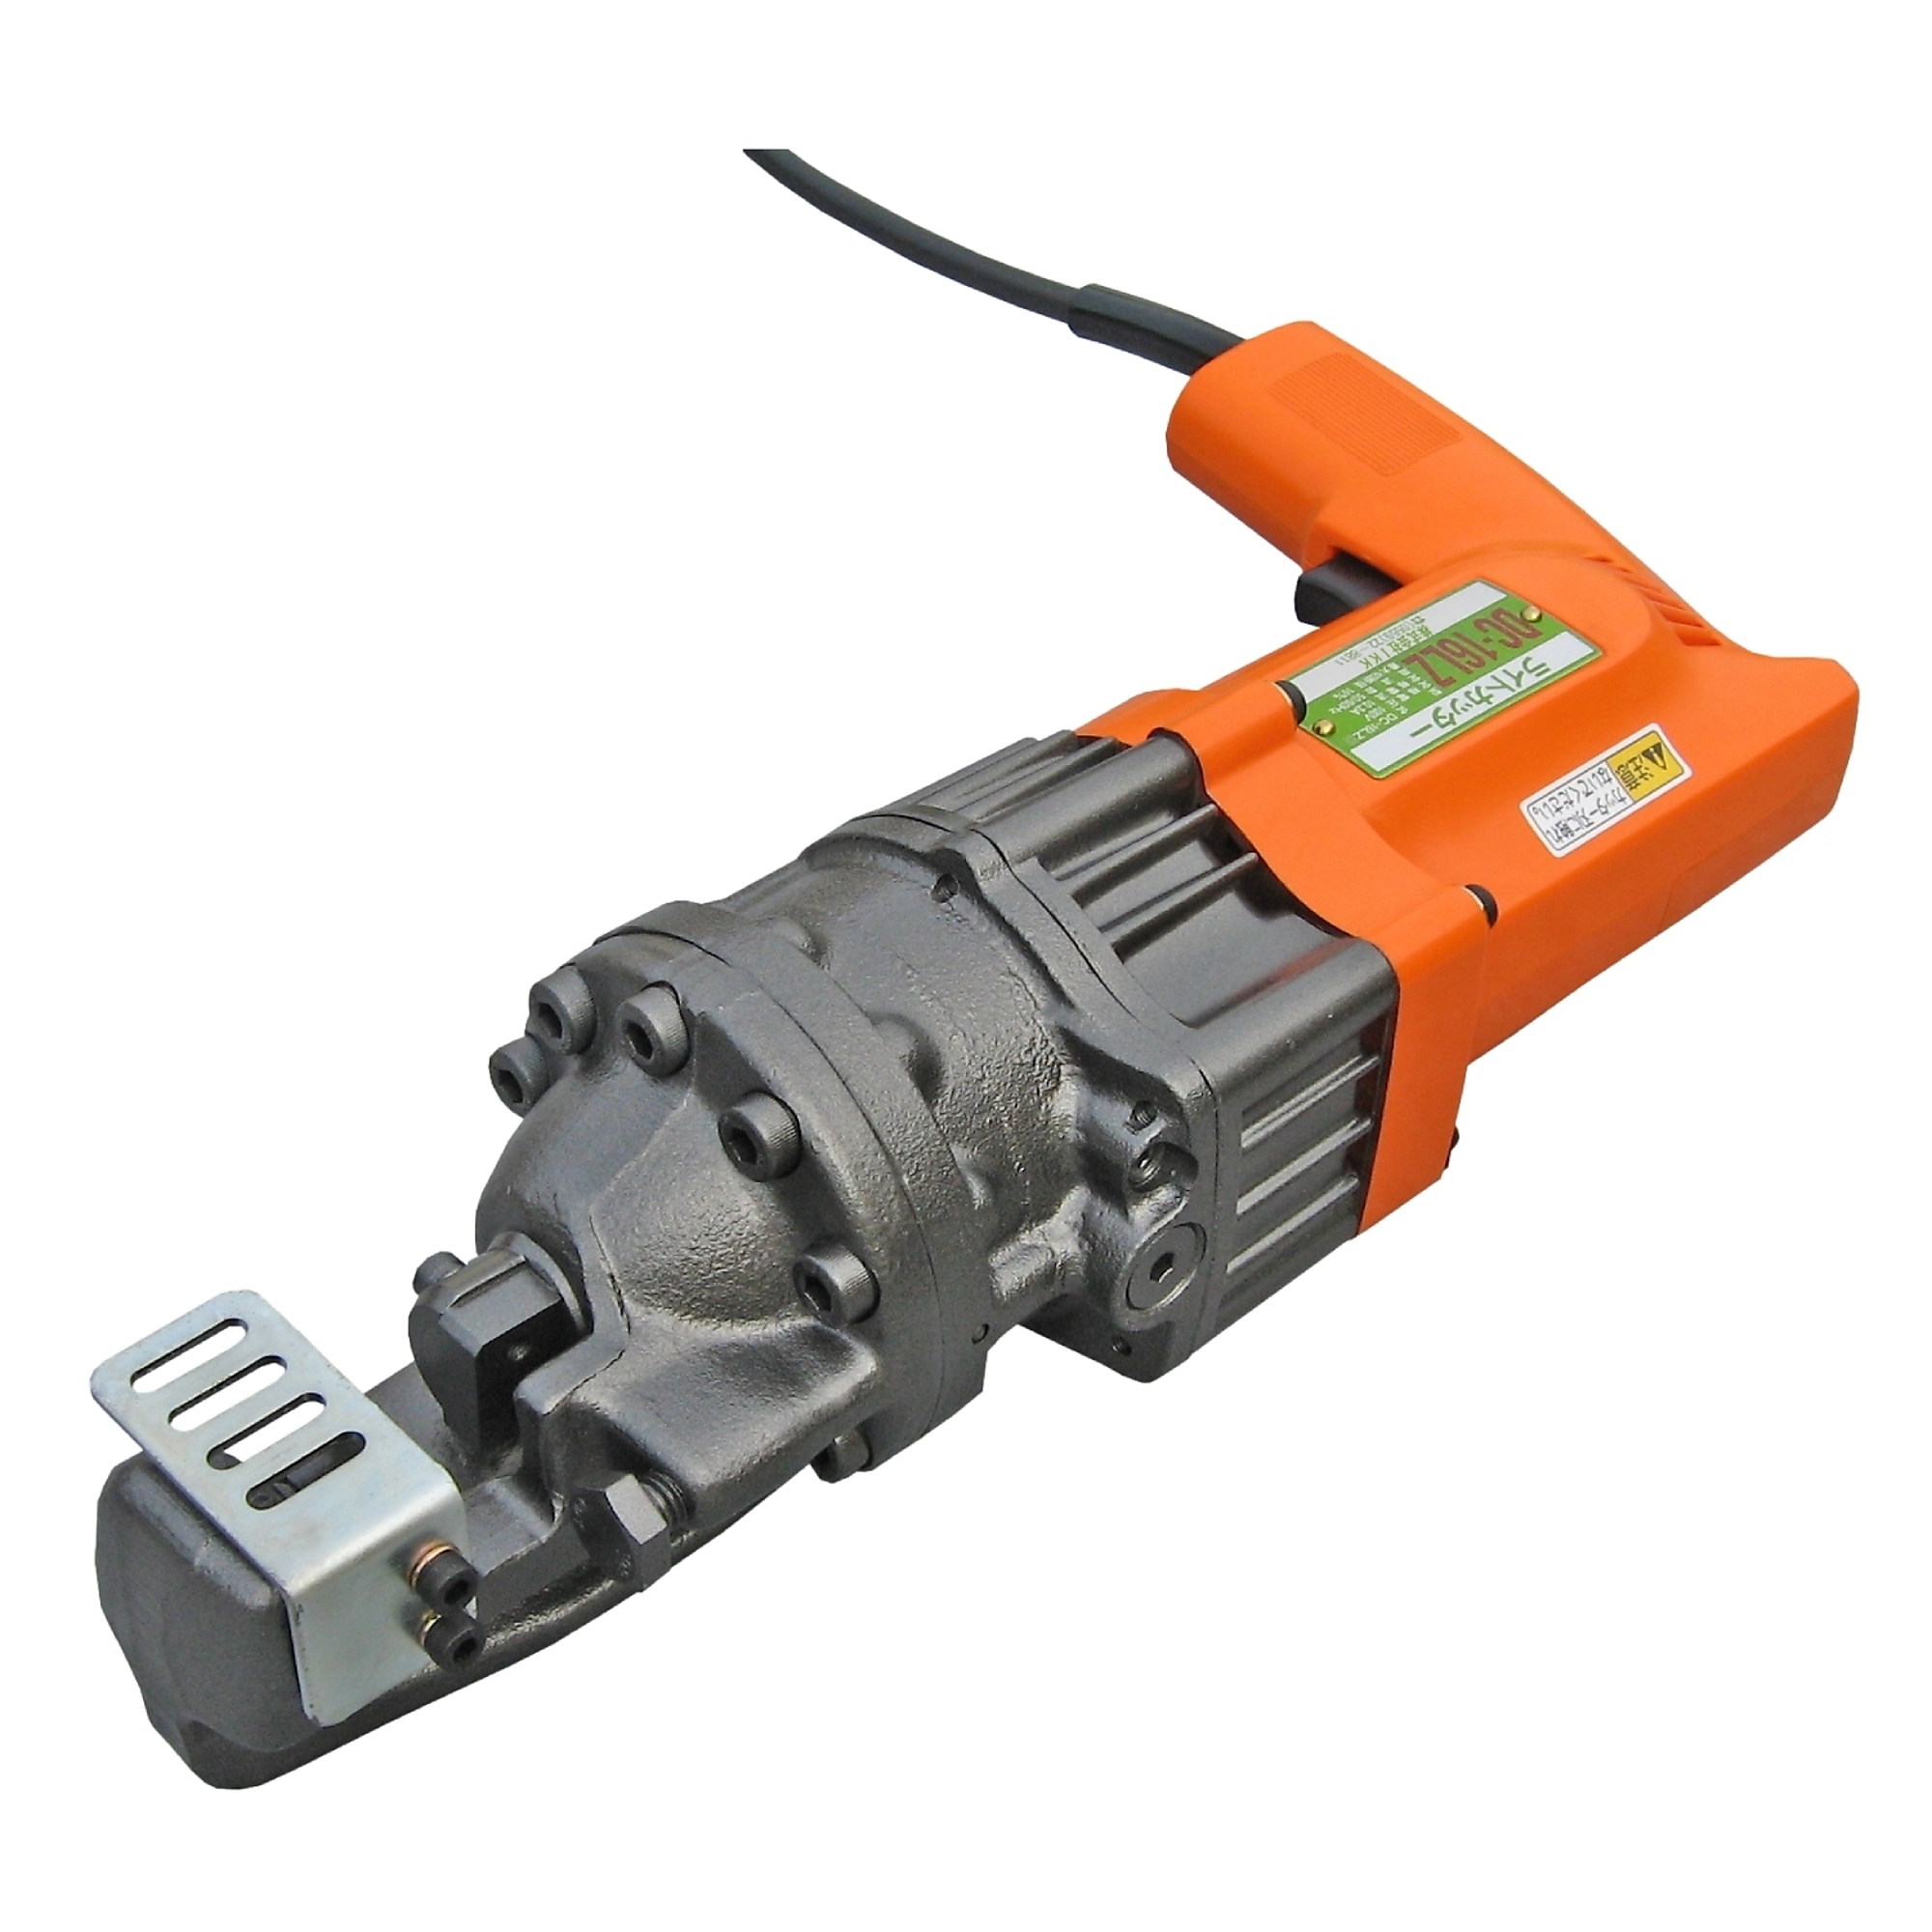
Next, create a rebar mesh pattern of 12in. x 12in. squares that fills the entire 10ft. x 10ft. space inside the form. Rebar should be 1/8 the thickness of the slab, so if the slab will be 4in. thick, look for rebar identified as Number 4 or 1/2in. thick. If you need to cut the rebar, you will need a rebar cutter.
You will also need enough rebar “chairs” to elevate the rebar every couple of feet in each direction. For a 10ft. x 10ft. space, that amounts to 25 chairs. They’ll keep the rebar elevated into the concrete layer, ensuring maximum durability.
Next, use pieces of wire to secure the rebar together everywhere the pieces cross, so it stays in place. Putting down crushed rock and then laying rebar over it ensures 3 important conditions:
- Water can drain away from your concrete
- The rebar doesn’t sink to the bottom of the concrete where it can’t add strength to the concrete
- Your concrete is protected against natural ground erosion
The rocks keep the rebar elevated, so concrete can fill in above, below and around it, strengthening your concrete pad. Rebar doesn’t guarantee that your pad will never crack, but it keeps the pad from separating in the event of a crack. Crushed rock and rebar are both critical to the durability of your patio or shed pad.
Note: If you will be using a wheelbarrow inside the form to distribute wet concrete, rebar chairs will not be effective. In this case, you can pull the rebar form by hand up to the middle of the concrete layer as you pour.