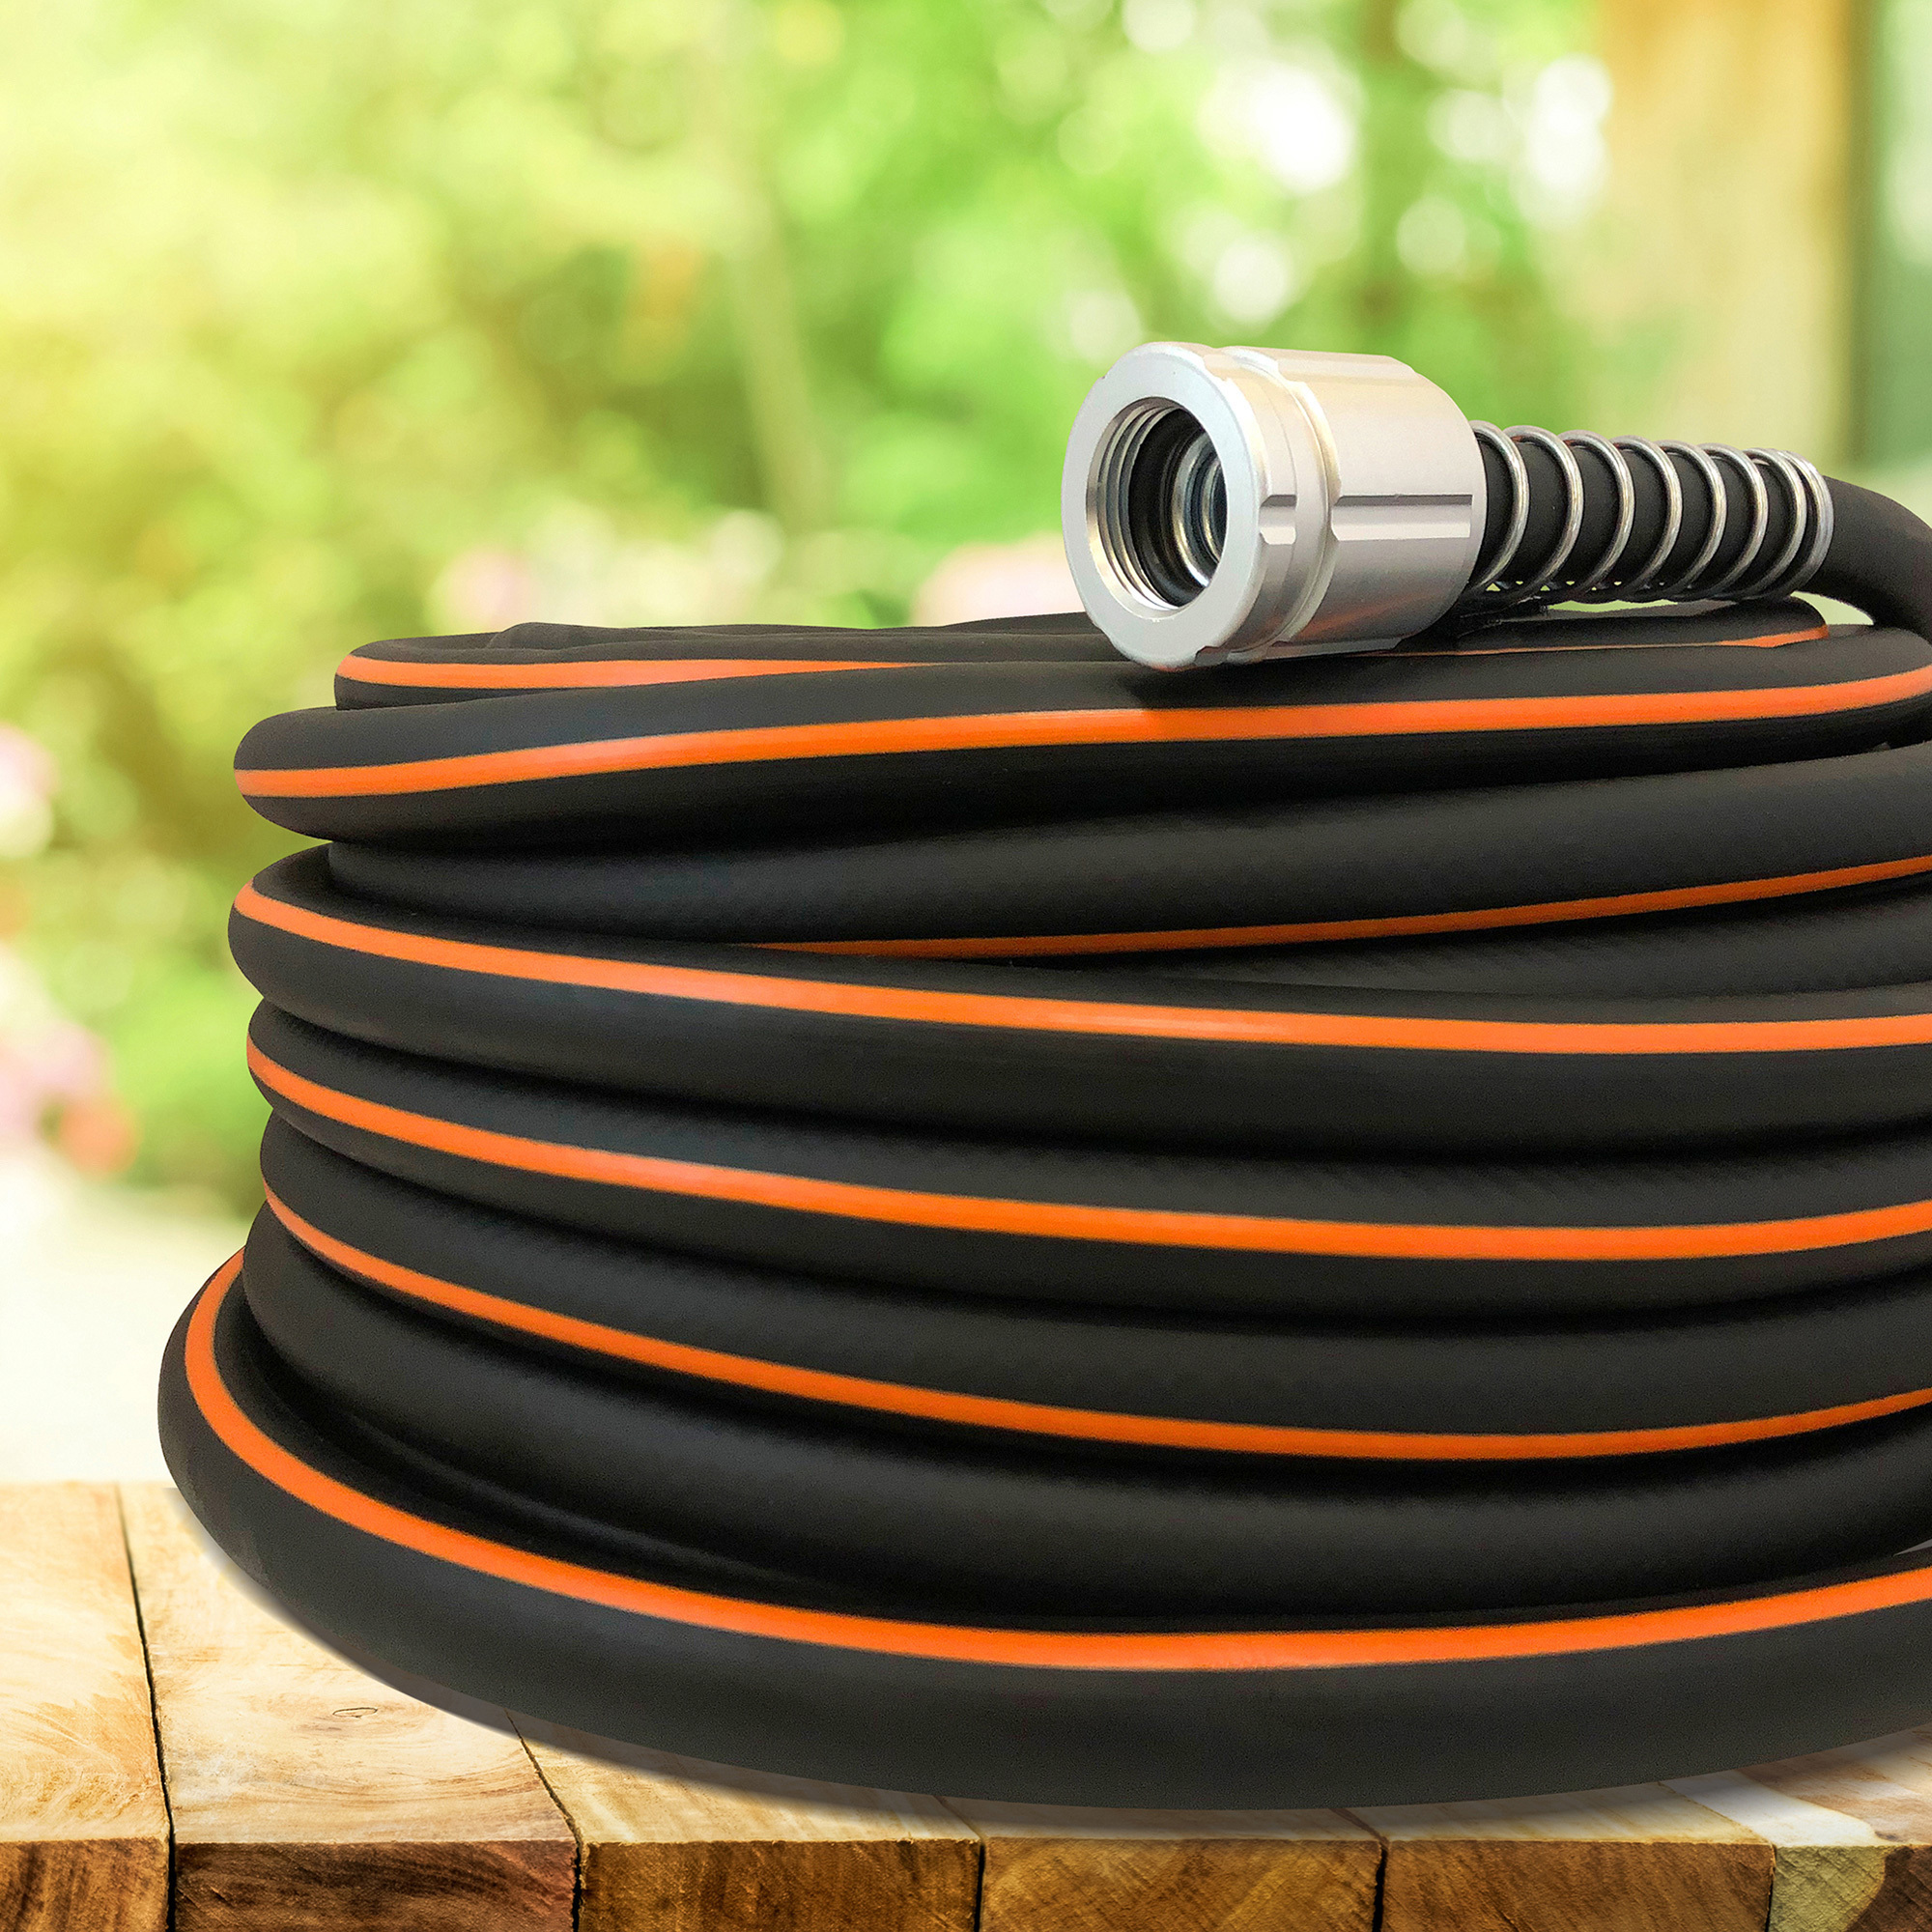
Skip to content

Free Gift Card Details

$100 Order
$10
gift card
$250 Order
$25
gift card
$500 Order
$50
gift card
$1000 Order
$100
gift card
  • The promotion will be automatically applied on the Shopping Cart page.
  • To qualify for this offer, your order subtotal must equal $100 or more. Excludes gift cards, free item offers, warranties, Advantage memberships, tax and shipping.
  • Free gift cards will be issued in the form of e-gift cards only, not physical gift cards.
  • E-gift cards will be sent to the email address used in your billing address when your order ships or is picked up.
  • Free e-gift cards expire 10/01/26.
  • Promo code not valid on prior purchases or on Honda and STIHL products and cannot be combined with other promotional offers.
  • Valid online and in participating retail stores.
  • Limited-time offer. Subject to change without notice.

Repairing a Garden Hose: Fixing Minor and Major Leaks

Discovering a leak in a garden hose at the launch of a watering project is frustrating. Luckily, some leaks can be fixed without too much hassle. Fixes can range from applying a piece of waterproof electrical tape to replacing a damaged connector or pair of couplers (aka clinch menders or adapters). Let’s look at some common types of leaks, how to fix them and how to decide when to ditch your old hose for a new one.

Electrical Tape

A Minor Puncture

You may discover a leak for the first time when you’re sprayed in the eye by water escaping a small puncture in your garden hose. If so, clean and dry the area of the leak and wrap electrical tape around it, overlapping the tape to create a few layers. Wrap the tape firmly but not too tightly.

Wrapping too tightly could cause the tape to crease, and the hose could continue to leak. This fix should last a long time. You may eventually need to replace the electrical tape, but if the puncture doesn’t enlarge, your leak is solved.

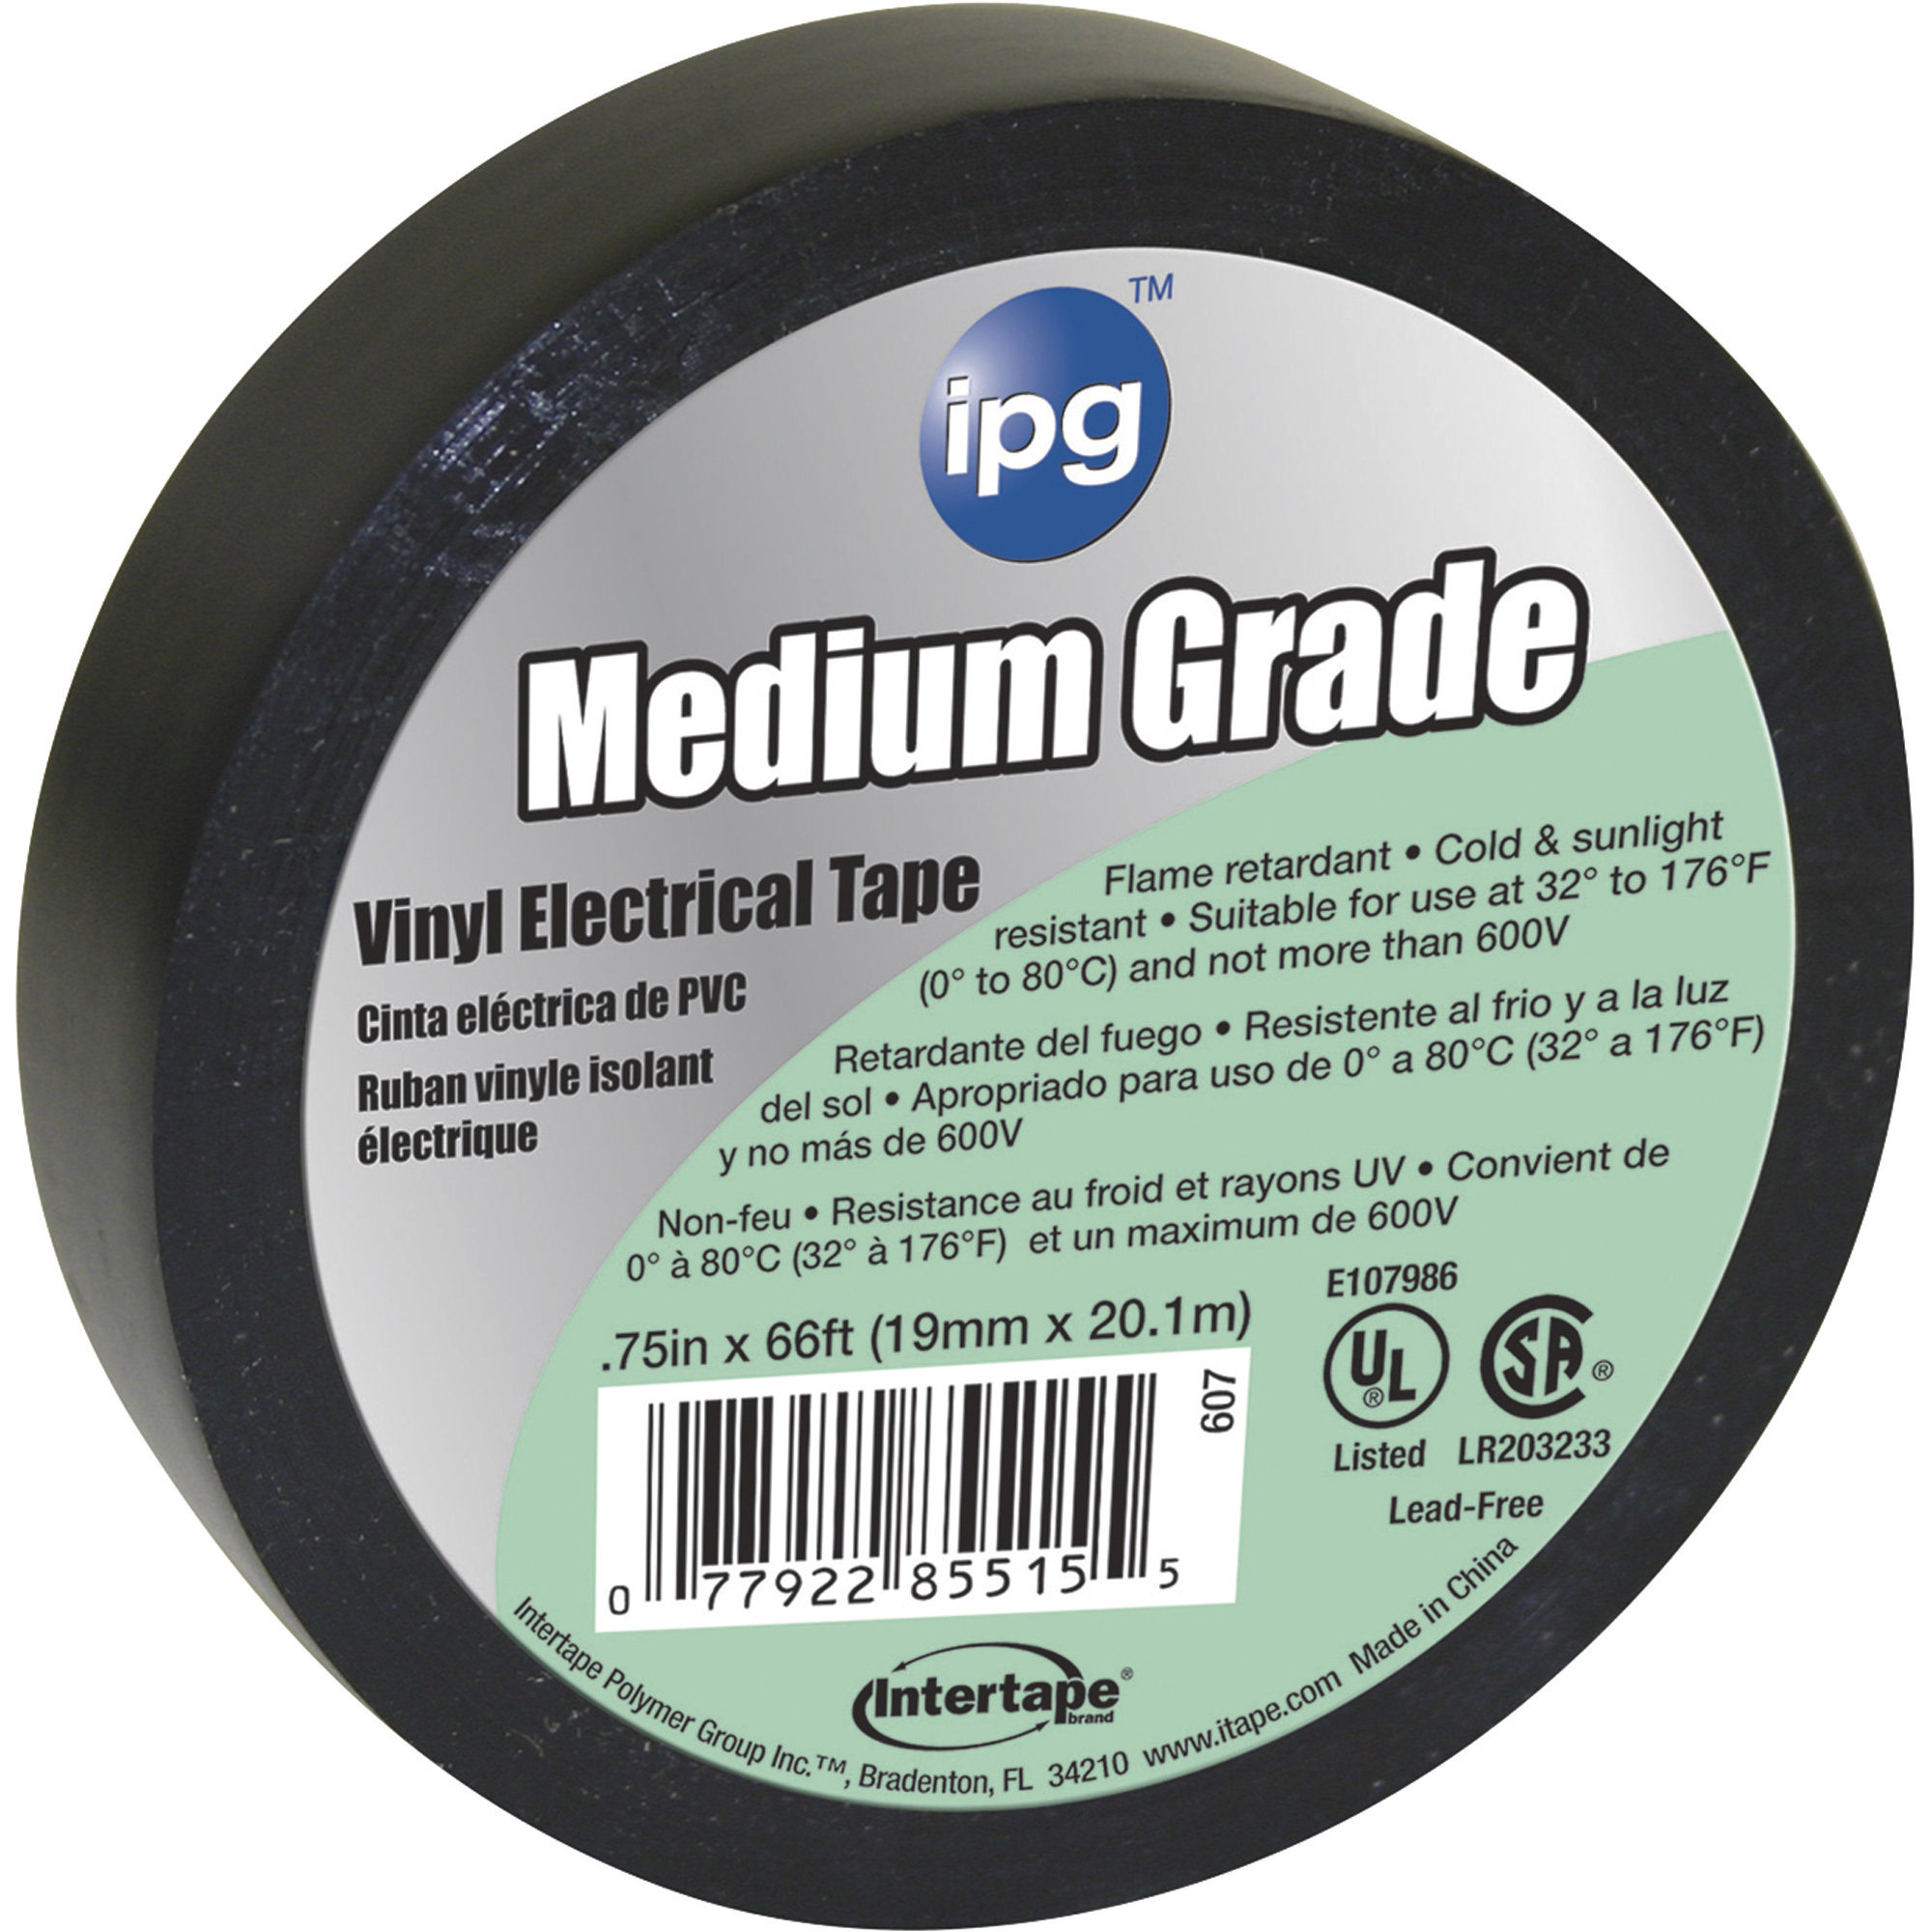
Note: Electrical tape is the only type of tape commonly used for a leaking hose, as it is durable, flexible and weather resistant.


Garden Hose Coupler

Connector Leaks

If your hose is leaking at the faucet connector or at an accessory connector, check first to be sure the connection is tight. Next, check for a break, crack, chip or dent in the leaking connector. If you find you need to replace a connector, you’ll need to do some measuring.

For female threads, measure the inside diameter (ID), and for male threads, measure the outside diameter (OD). Be sure to buy a replacement connector that’s the same type and size of your original connector.

The easiest way to measure is to lay a tape measure across the connector end. Common connector sizes are 3/8in., 1/2in., 5/8in. and 3/4in. The most common garden hose connector size is 5/8in. diameter with a thread pitch of 11.5NH (11.5 threads per inch). NH stands for national hose. NH is sometimes used interchangeably with GHT, an abbreviation for garden hose thread.


Hose Repair Kit

Adapter Leaks

A significant leak near a hose coupler (aka adapter) that attaches to a connector can be fixed easily with a clinch mender (aka replacement coupler or adapter). The whole job can be done in a few easy steps.

First, using a sharp pair of heavy-duty scissors, a utility knife or pruning shears, cut off the leaky end of the hose. Make sure your cut is clean and straight. Then measure the ID of your hose and purchase the right-sized mender. Again, common IDs, by which a hose is typically measured, are 3/8in., 1/2in., 5/8in. and 3/4in.

Press your new clinch mender, male or female unit, whichever matches the one being replaced, into the cut end of the hose. Be sure to push it in as far as it will go.

Next, place the hose (clinch mender inserted) onto a hard surface, and use a hammer to tap the metal tabs down securely around the hose. The clinch mender is now ready for attachment to the connector of a faucet, sprinkler or other accessory.


A Leak in the Middle of the Hose

A substantial leak far from either end of the hose can be fixed easily with a clinch mender, too. Start by cutting off the damaged section of the hose. Then, follow the directions above for measuring your hose and purchasing the correct size clinch mender.

The difference here is that this repair requires attaching both female and male clinch menders, one on each cut end of the hose. Once both clinch menders are attached, connect them to each other for a continuous hose pipe. Your hose is now good to go for your next watering job.


New Garden Hose

Too Leaky to Fix — Time for a New Hose

If your garden hose has multiple water-wasting leaks that can’t be fixed with any of the solutions discussed here, you might need a new hose. If your hose has just one long damaged portion that shortens the usable length to less than you need, it’s probably time for a replacement. Save yourself the hassle of continuous repair jobs or struggles with a hose that’s too short.


Shop Garden Hoses + Accessories