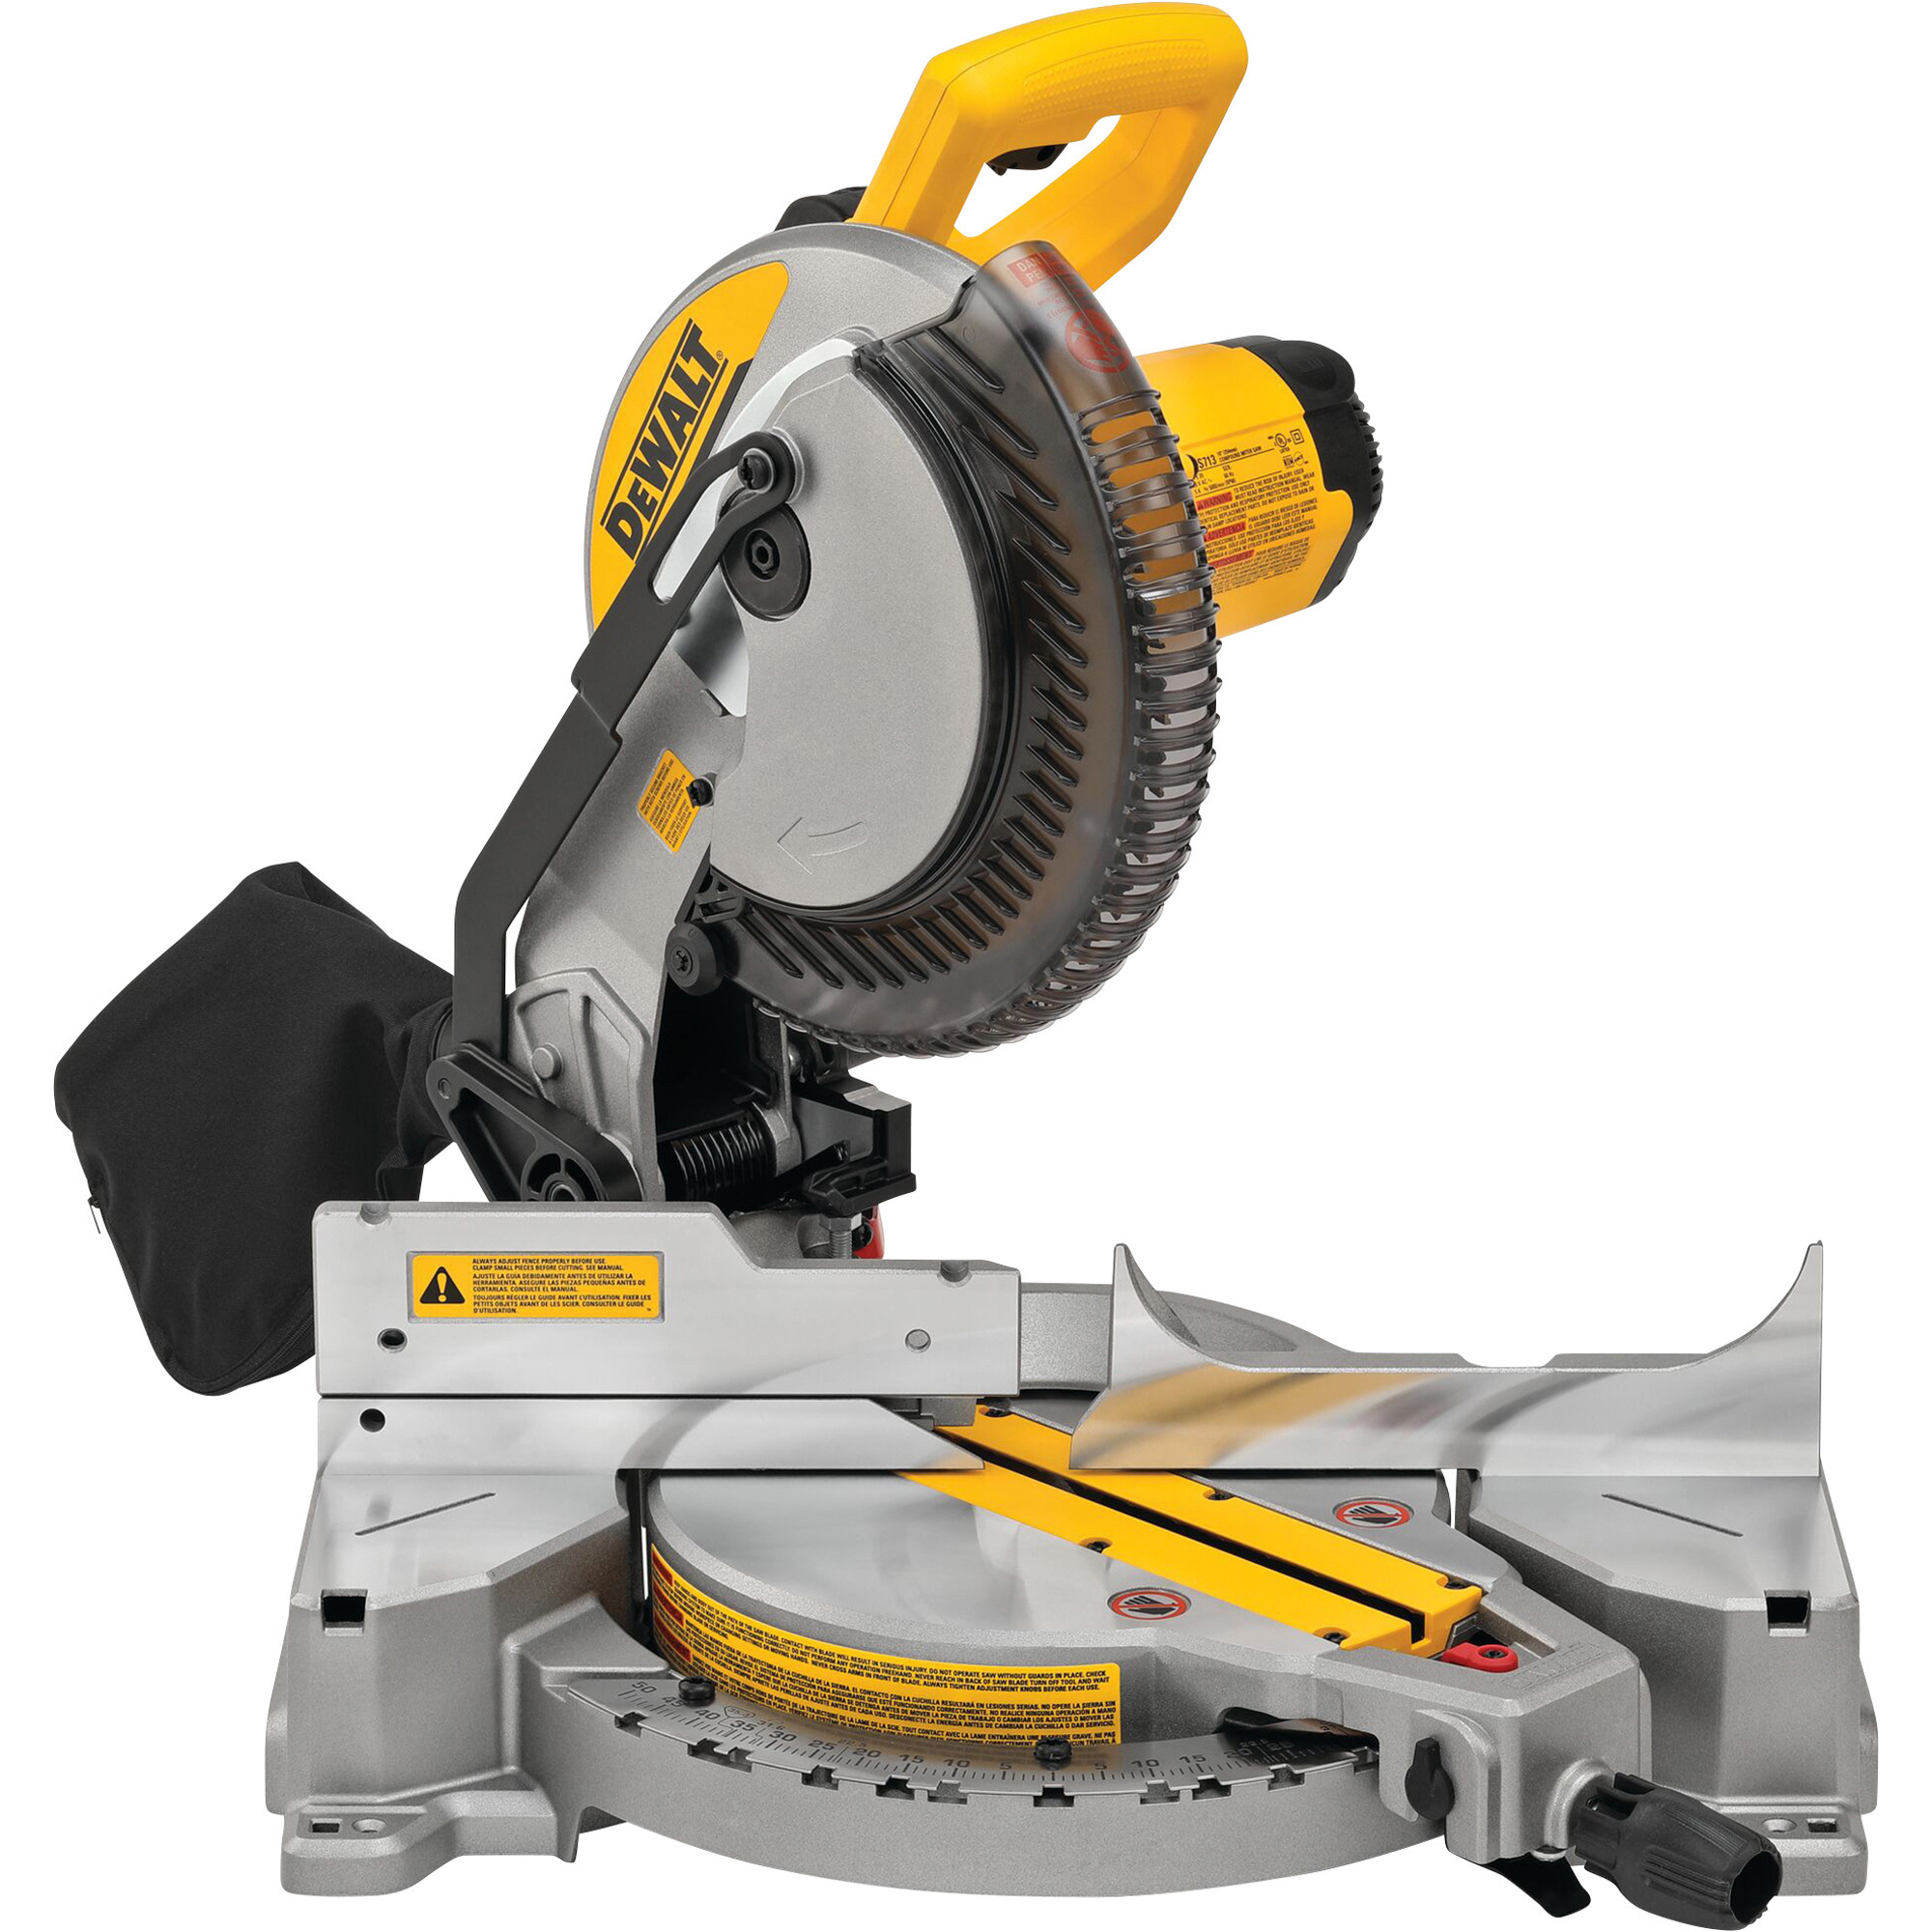
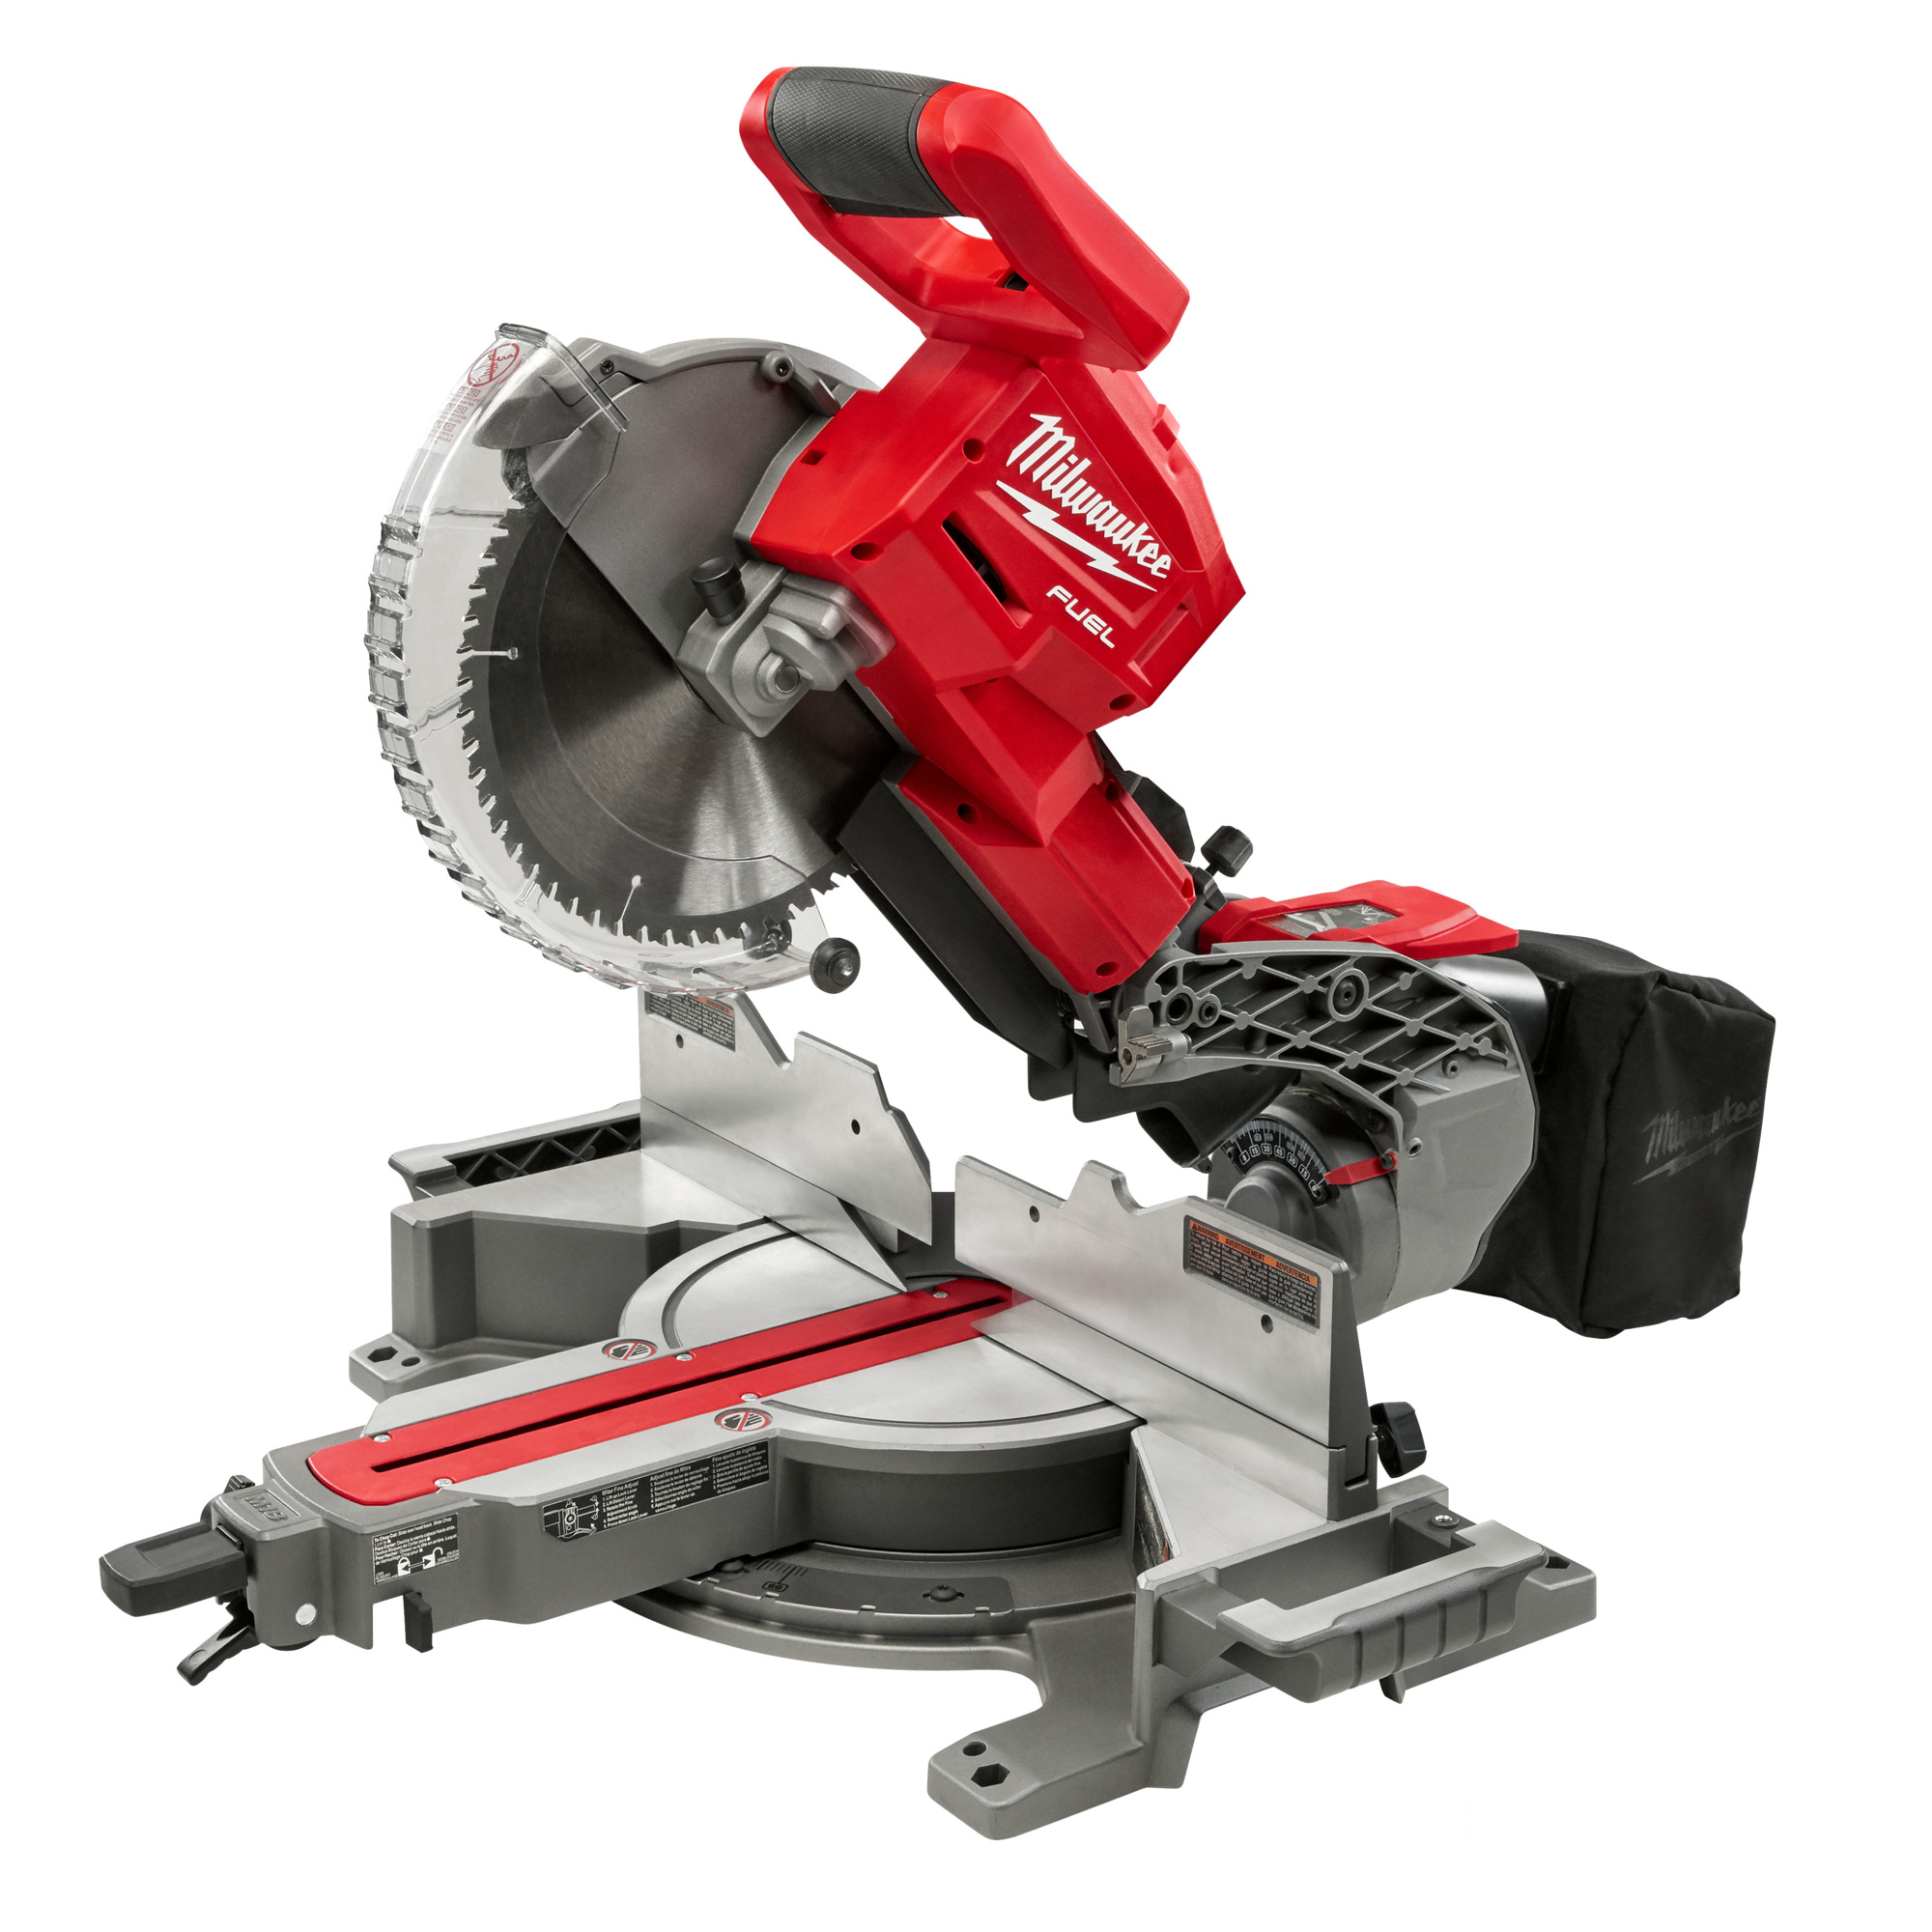
The tool that every woodworker should have in their workshop is a miter saw. That’s because a miter saw is great for repetitive cuts without fail, as well as being a go-to tool you can use to crosscut lumber. But did you know you can get more from your miter saw? You can. Below is a selection of tips and tricks to help turn you into a master of the miter saw in no time.
How To Use a Miter Saw, Tip #1: Safety First When Using A Miter Saw
This first tip isn’t really a tip, but it is the most important thing to consider when you are using your miter saw, and that is safety. Safety should always come first when working in your shop. So, before you start with your miter saw, please read the manual that comes packaged with it. The included manual should have some important safety information in it that should outline essential things like changing the blade, and proper miter saw maintenance. Know your machine before you use it. Also, be sure to keep your hands away from a moving blade. If you are working with smaller pieces, be sure to use a clamp or another accessory to help you out. And finally, as with any tool that produces dust, always wear protective glasses when you use a miter saw. These will help ensure your eyes are safe from flying sawdust, splinters or debris while you make your cuts.
How To Use a Miter Saw, Tip #2: Let Your Blade Reach Maximum Speed
You have your miter saw set up and ready to go, and you are about to make your first cut. There is something very important that you should do. First is letting your miter saw’s blade reach its top speed before you lower it down on what you are cutting. Why should you do that? Because it allows you to make an excellent, clean cut without the blade catching on the material you are cutting. Before you lift the blade back up, be sure to let the blade come to complete rest by releasing your hand from the blade trigger. Doing this will help prevent the off-cut from flying off the table. Doing these two things with each cut you make with a miter saw will help ensure you get clean, safe cuts.
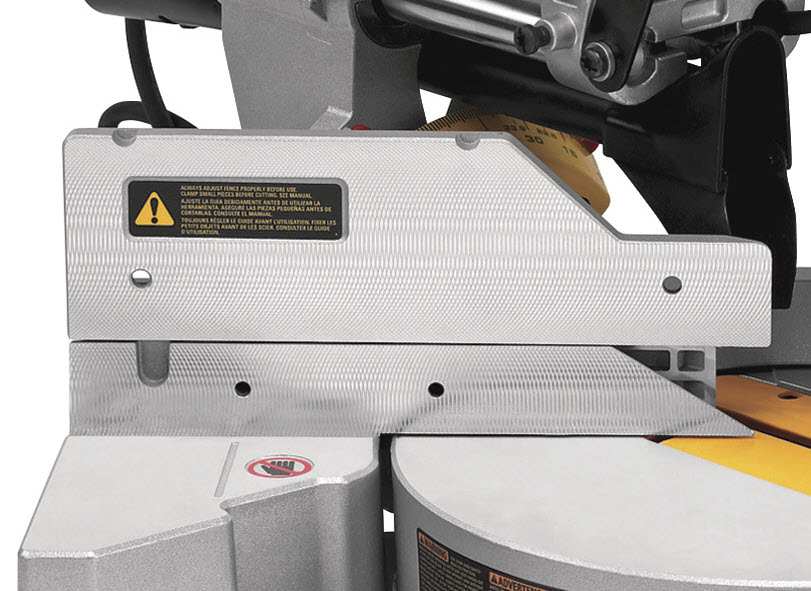
How To Use a Miter Saw, Tip #3: Use an Auxiliary Fence
Some woodworking projects will have you cutting off small pieces from much larger pieces, which could get tricky. How so? Well, because if you don’t do it safely, there is a chance that your small piece could go in any direction after getting caught in the blade. You can prevent this from happening by equipping your miter saw with an auxiliary fence. What does an auxiliary fence do? It will help prevent the small pieces from falling back into the blade and flying out of control. Doing this will help you get the cut you want without facing the dangers of flying wood.
How To Use a Miter Saw, Tip #4: Mark Danger Zones
As was said in the first safety section, you never want to get your hands close to a moving blade on a miter saw. No project is worth endangering your personal safety. To help protect your hands and make sure they stay clear of the miter saw’s blade, mark the areas of danger on your miter saw’s table. These marks will let you know where your hands should never go while making your cuts. Where should you place these marks on your miter saw? You should draw them on both the fence and the bed of the saw. An example of where you should put them is if you are using a ten-inch miter saw, you should draw your safety lines seven inches from both sides of the saw base and fence. With these marks made, you should know where your hands can and cannot go while using them.
How To Use a Miter Saw, Tip #5: Use Clamps When Needed
Now that you have made your safety marks on your miter saw’s fence and bed, you know what areas are dangerous to put your hands. But what do you do when you must cut a small piece that would put your hands in danger? This is when you want to use a clamp to help keep your hands out of that dangerous area. When a clamp is securely attached to the piece you are looking to cut, you will not only get the cut you want, but it will also be an accurate cut. Plus, your hands will also stay safe the whole time.
How To Use a Miter Saw, Tip #6: Use a Stop Block to Make Repetitive Cuts
Do you have a project that will require you to make the same cut repeatedly? Not a problem. Here is a helpful tip to help you make quick work of that project. First, set the measurement on the miter saw, then attach a stop block to the miter saw at the length equal to that cut. That’s it. That’s all you must do to set something up that will allow for repetitive cuts. This is the perfect tip to remember if you use your miter saw at a building construction site.
How To Use a Miter Saw, Tip #7: Cut Wider Boards
Do you have some wide boards to cut? Slider miter saws can handle a lot of those, but those who have a regular miter saw can still cut some wide boards using this tip. Place a board under the wide board that you are looking to cut, and then make that cut. Your cut should be extended based on the thickness of the board you placed underneath it. Another tip to help you out with this is to do the cut-and-flip method. This is where you make one cut, then flip the board over to finish the cut. So, if the project you have requires you to cut wider boards, you should be able to get that job done.
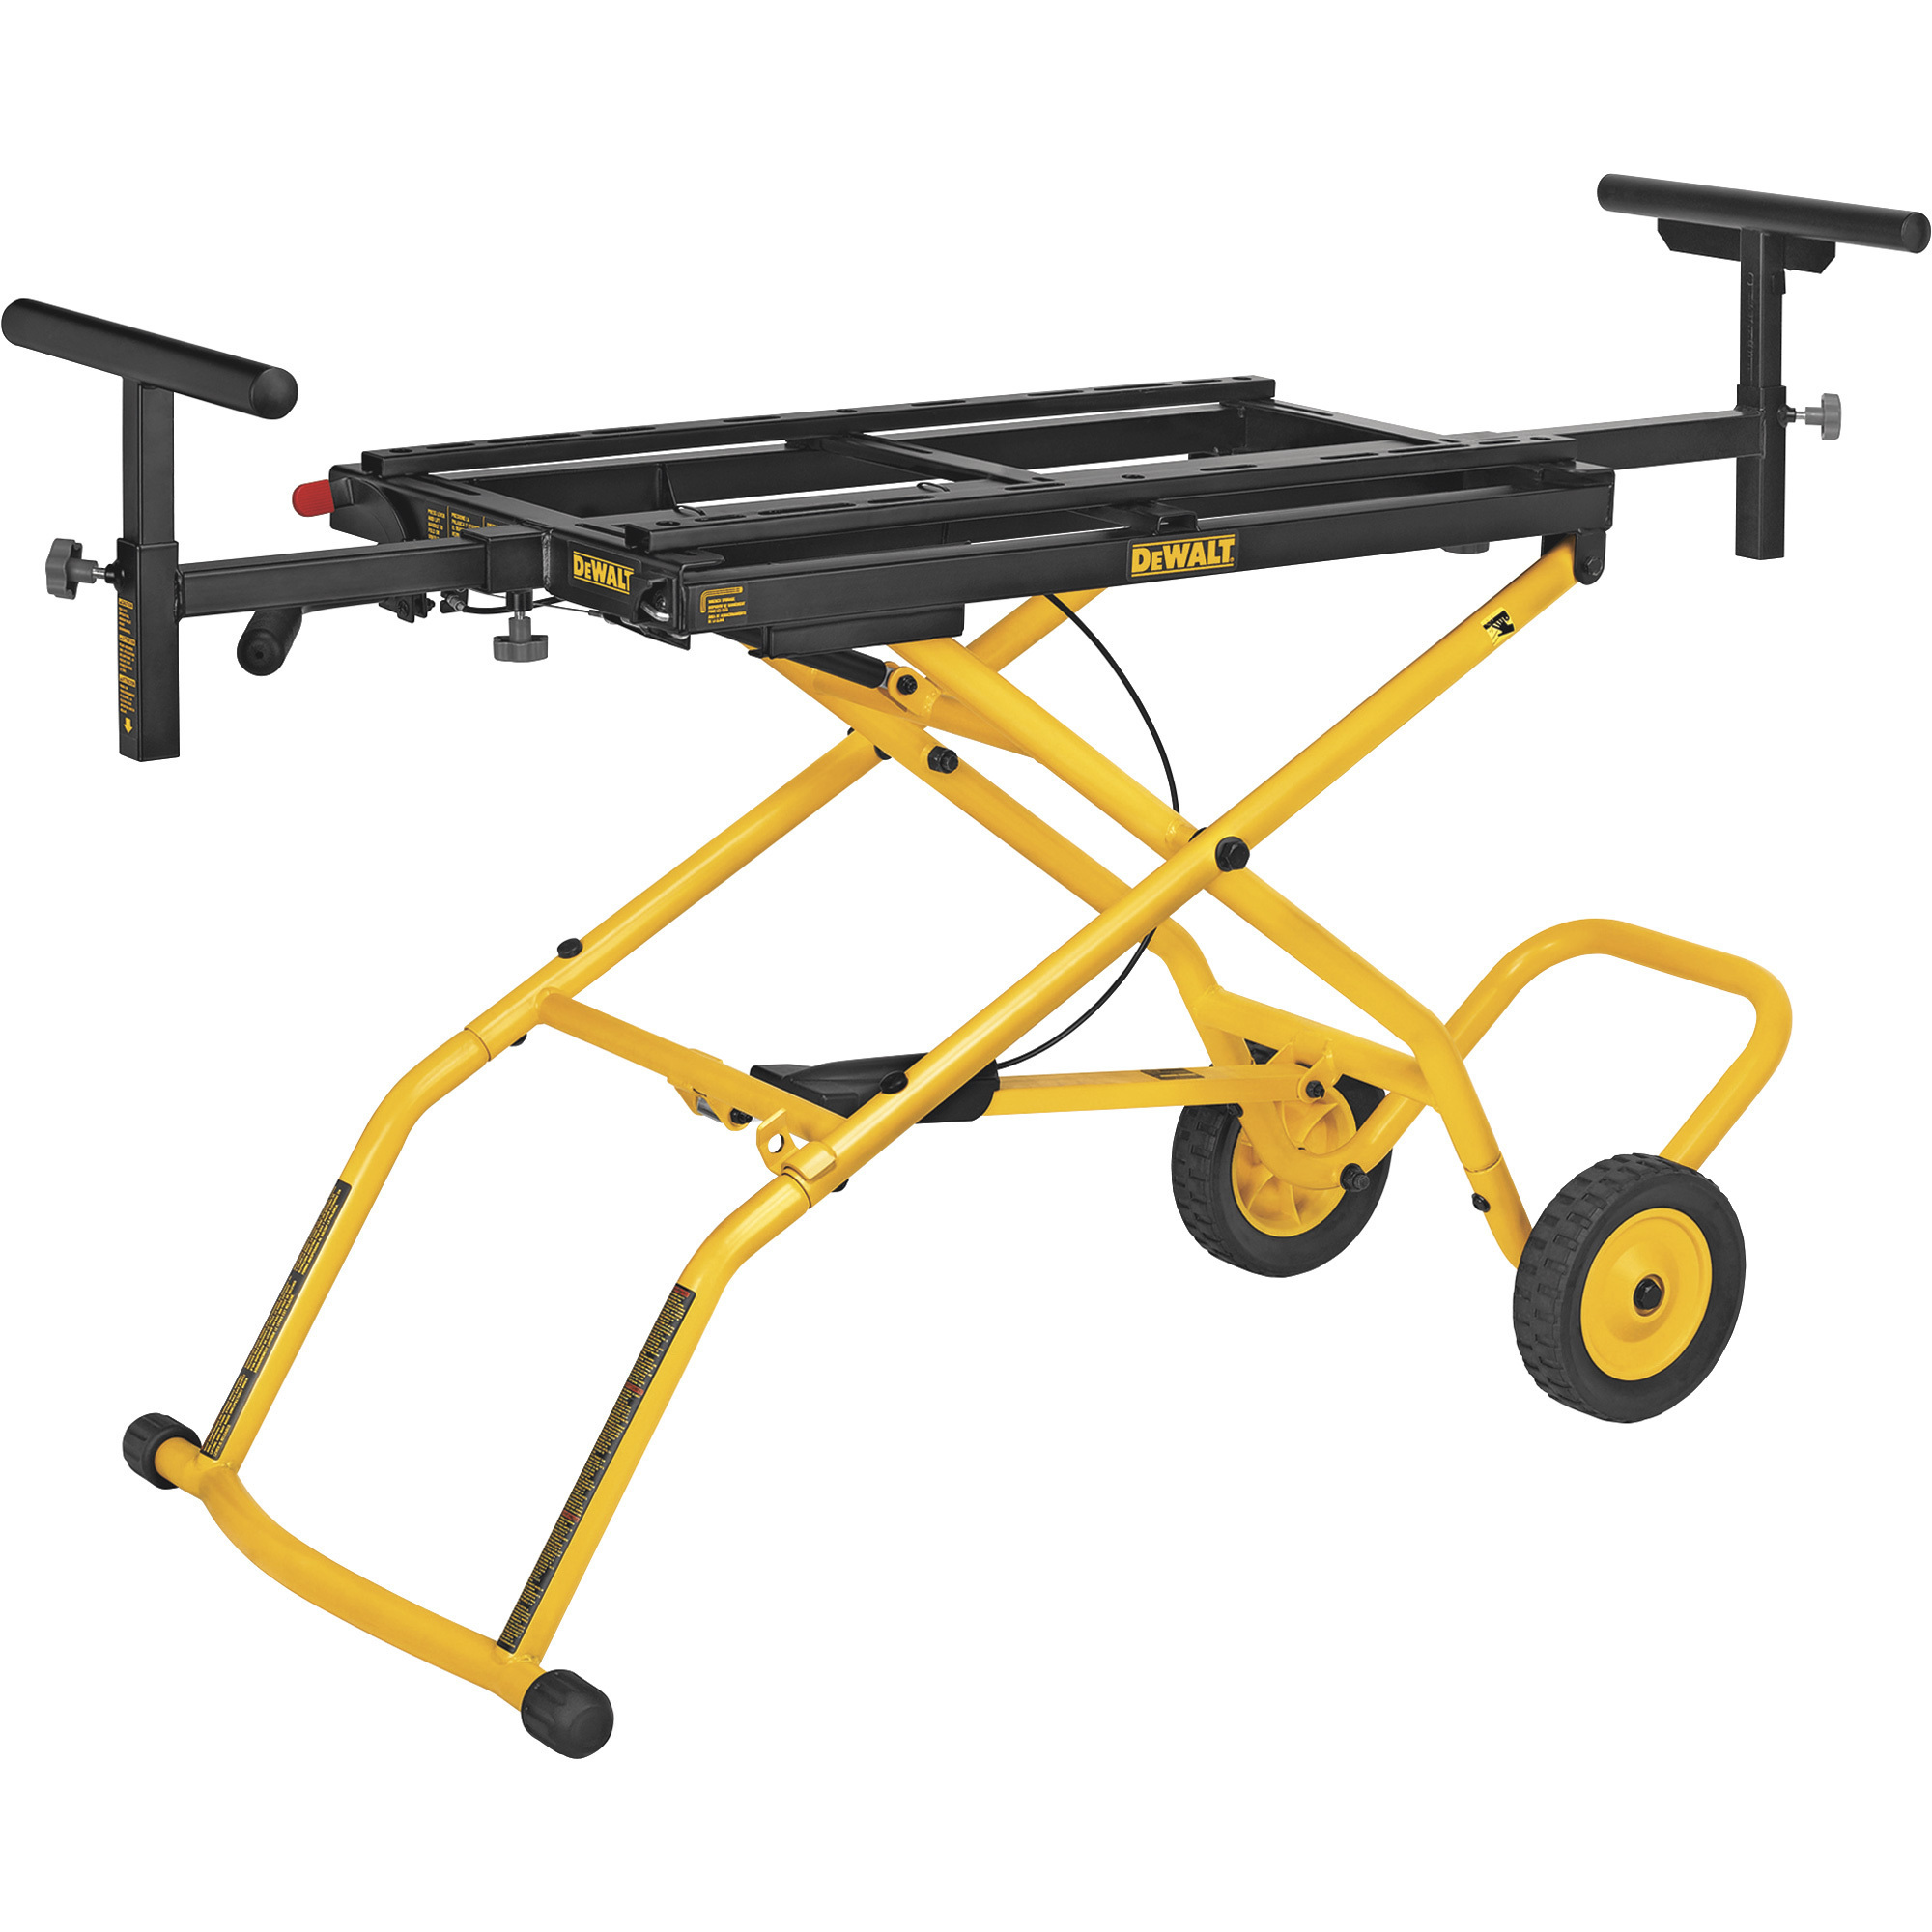
How To Use a Miter Saw, Tip #8: Use a Miter Saw Stand on the Go
When your projects have you hitting the road with your miter saw, you’re going to need a place to use it. Since workshops often have many solid, sturdy surfaces to place your miter saw on, when traveling, you might not always have one. That is why you want to travel with either a rolling miter saw stand or a folding miter saw stand. With a portable stand, you will be able to have a secure place to make the cuts you need to. Don’t have a mobile stand yet? That’s not a problem because Northern Tool + Equipment has got you covered. Find the right stand that will fit your travel needs. This is the best miter saw accessory for the craftsman who needs to work outside of their workshop and visit jobsites.
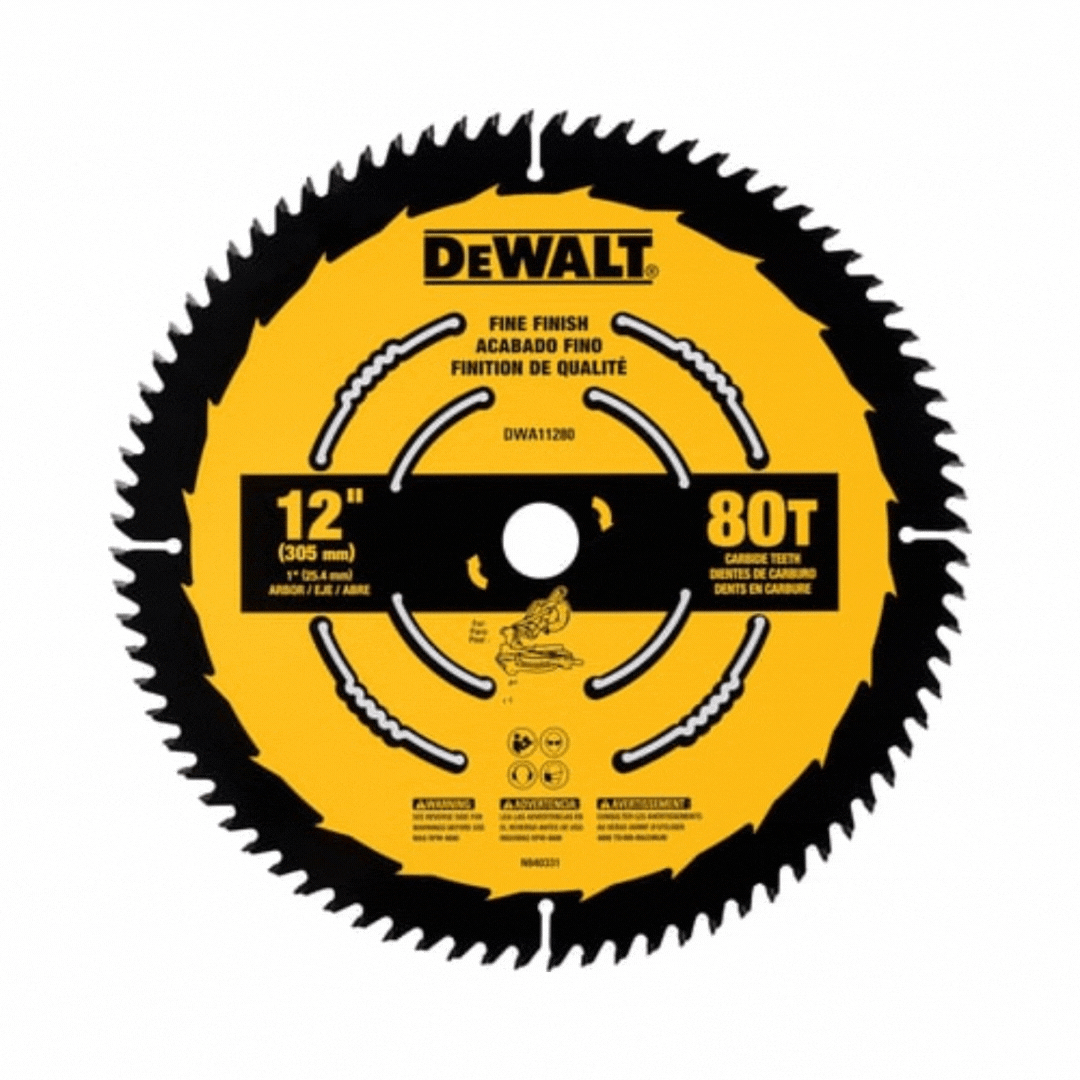
How To Use a Miter Saw, Tip #9: Refresh Your Blade
There is no getting around it, saw blades do get dull after multiple uses. It happens. And you don’t want to be using an incredibly dull blade on your woodworking projects because they can cause less-than-desirable cuts. Therefore, you will always want to have a stack of replacement saw blades in your workshop. That way, when your blade starts to get dull, you will be ready to replace it in seconds without having to travel to get a new one. It’s also a good idea to keep some extra saw blades around the shop that have different uses because not all material requires the same cutting blade style. And remember, before you replace your blade, you will want to consult your miter saw’s manual to follow their instructions on how to replace that blade safely.
Now that you have a few tips to work with, you should be set to master your miter saw and complete jobs with ease. For all your miter saw needs, check out the miter saw section of Northern Tool + Equipment’s website. We carry a wide range of miter saws, saw blades and miter saw accessories. Find the ones that are right for you and get started on your next project.